A Photographer’s Guide To Glaciers
| TIPS AND TRICKS, glaciers, All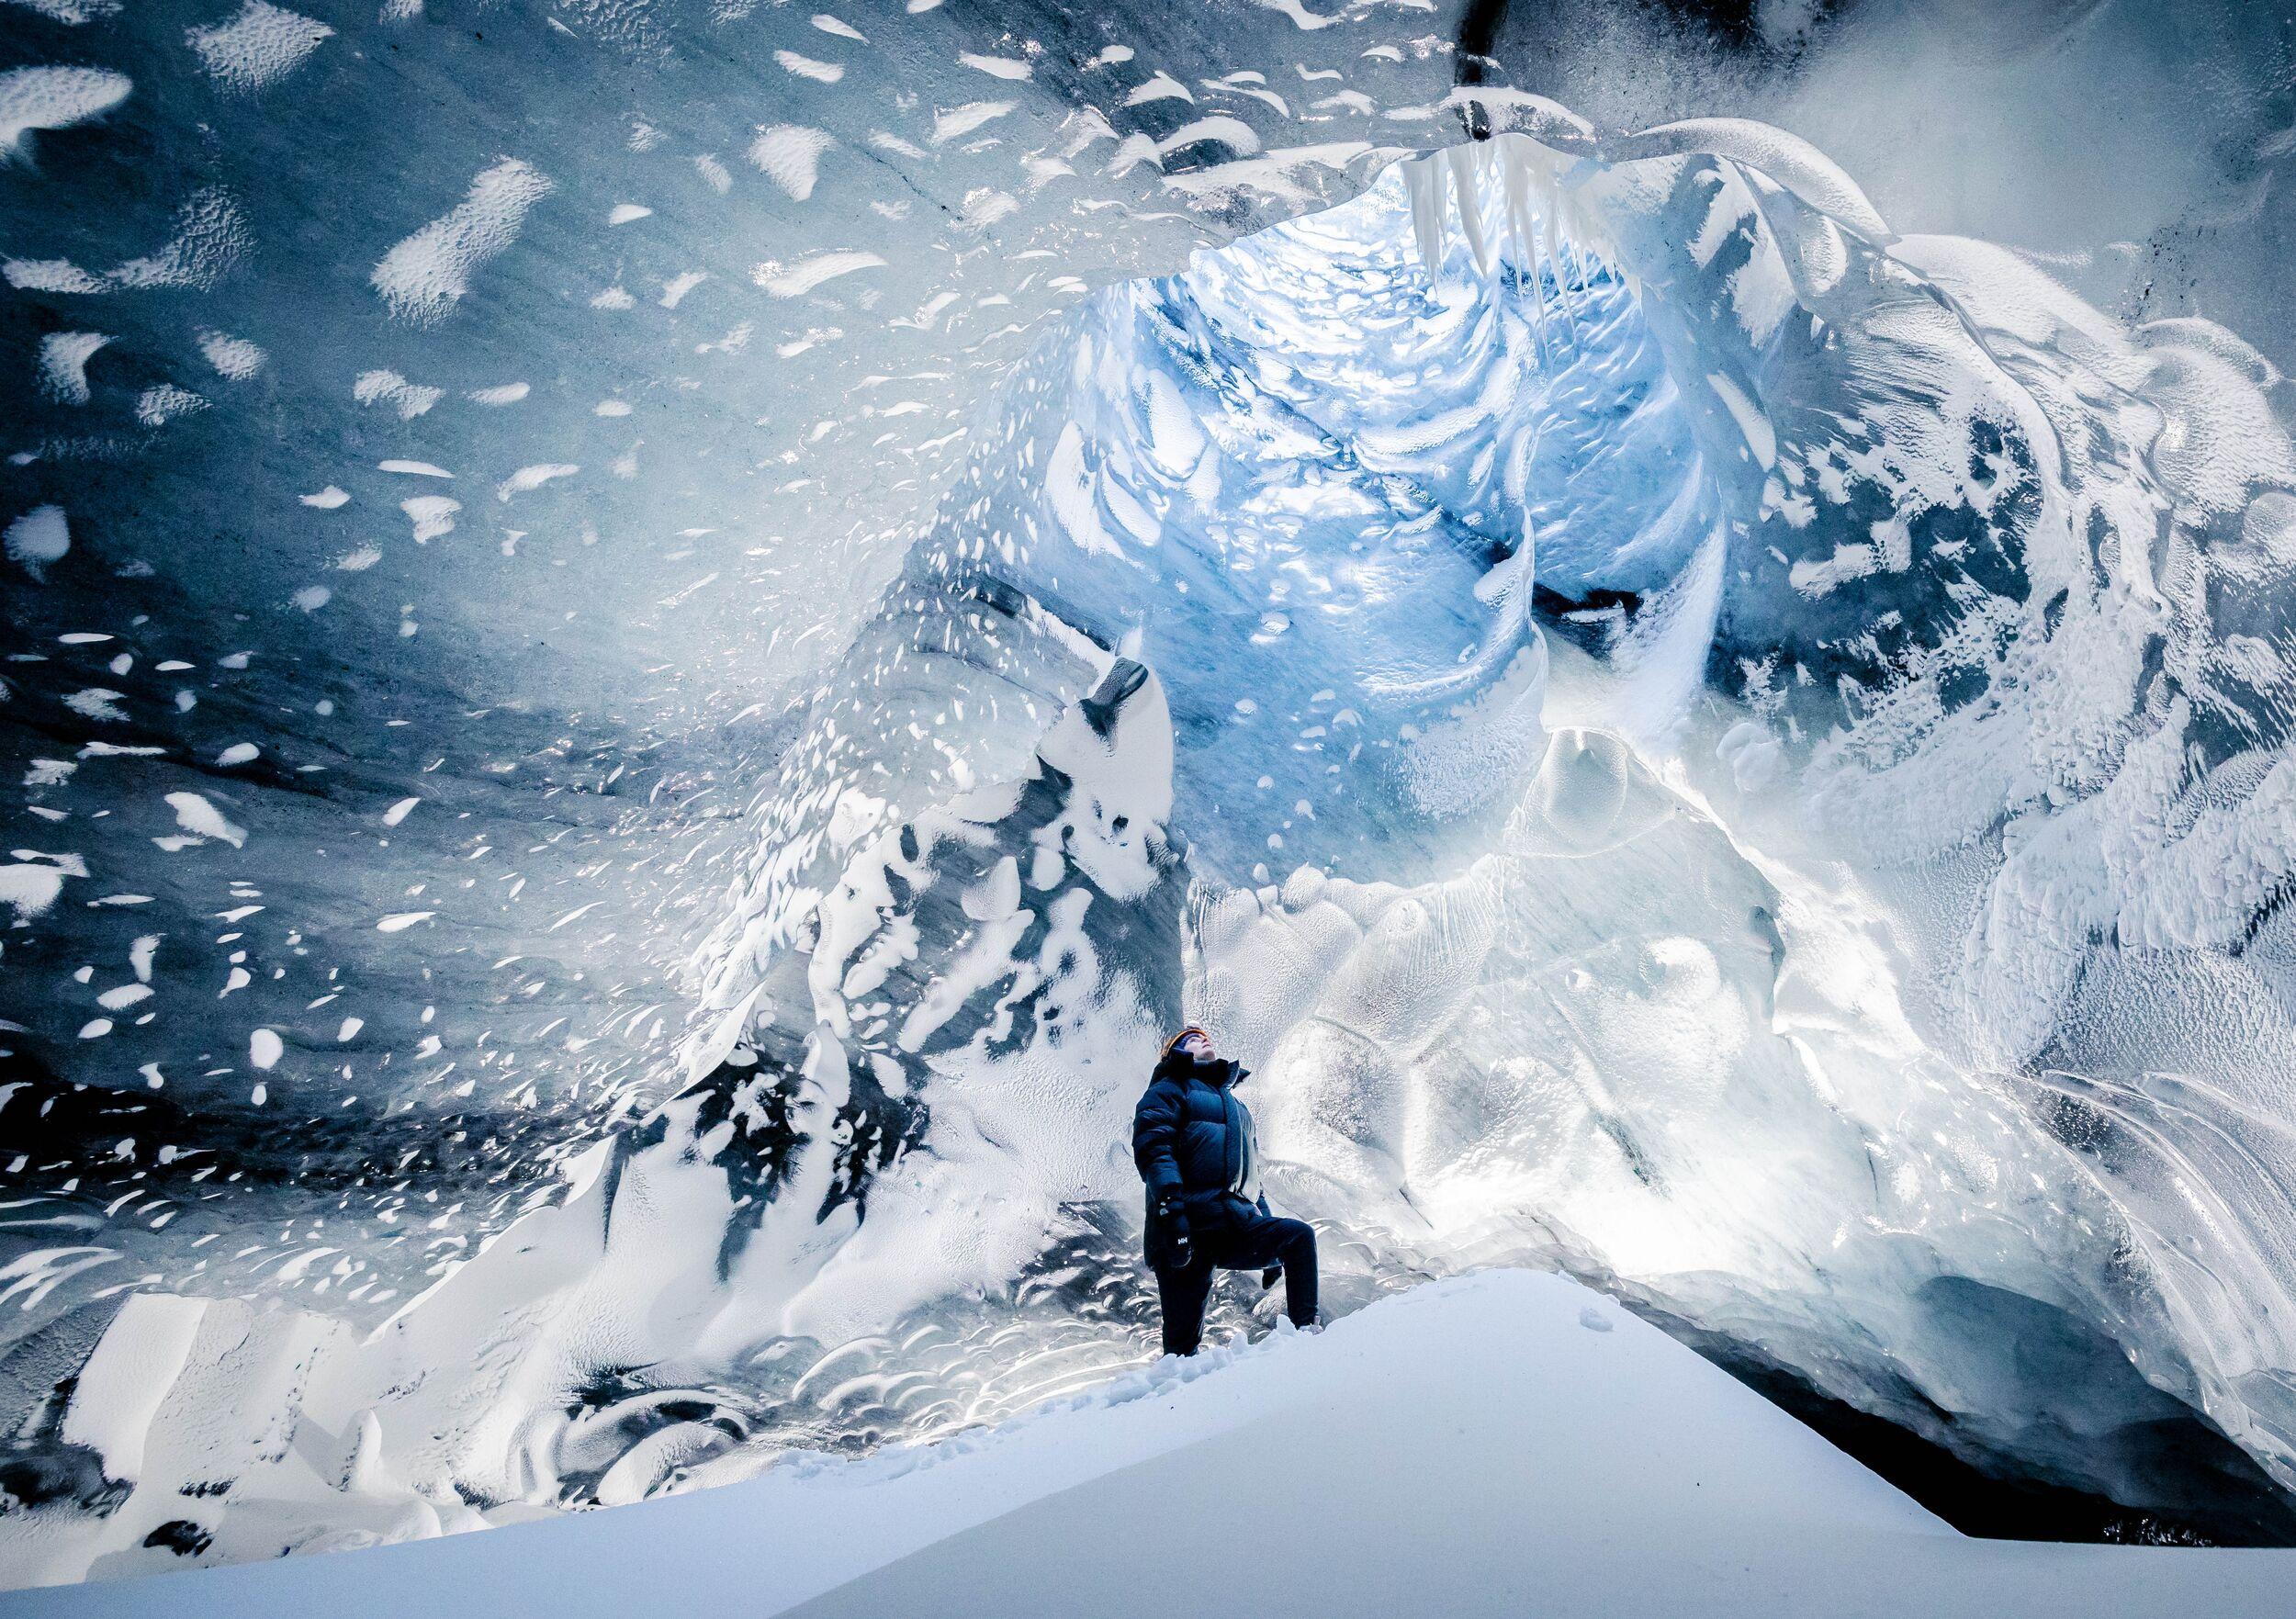
Iceland’s glaciers are nothing short of epic — they’re raw, powerful and ever-changing, making them incredible subjects for pro photographers and photography enthusiasts alike. From vast ice fields shimmering under the bright summer sun to surreal blue ice caves that seem to glow from within, these frozen wonders offer countless photographic opportunities.
Whether you’re a hobbyist with a smartphone or a pro toting a full-frame DSLR, photographing Iceland’s glacier landscapes is both thrilling and fun.
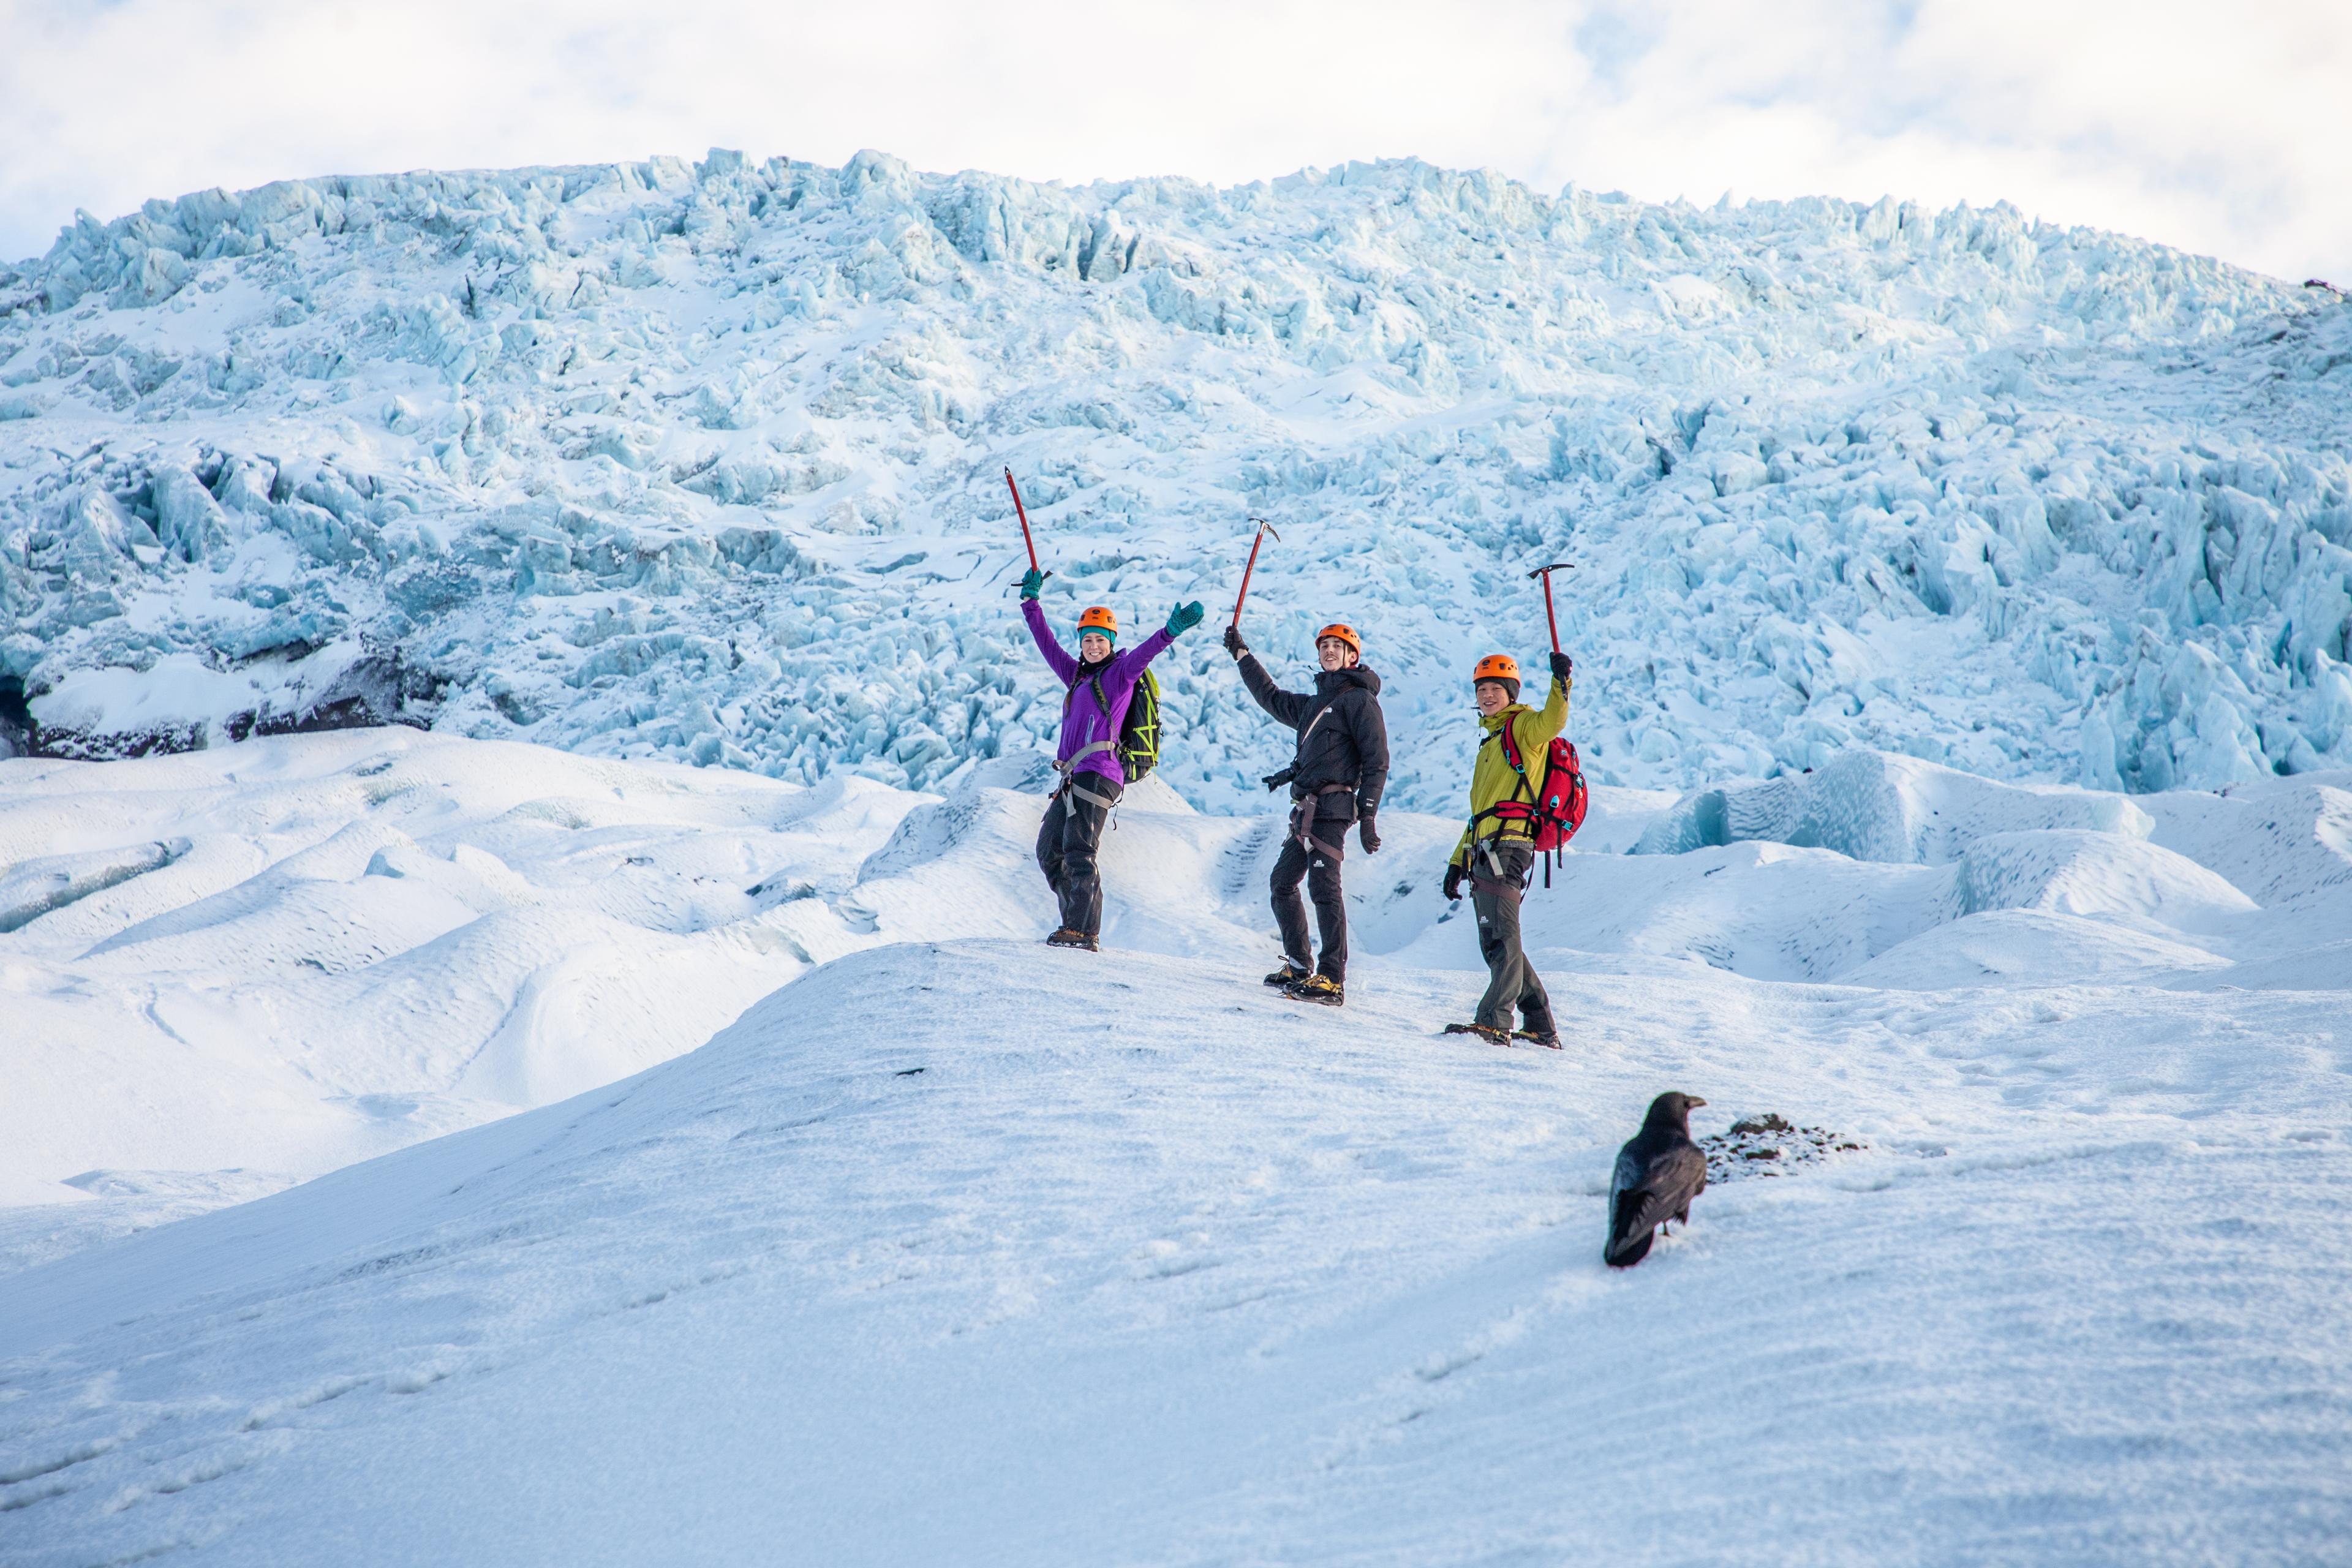
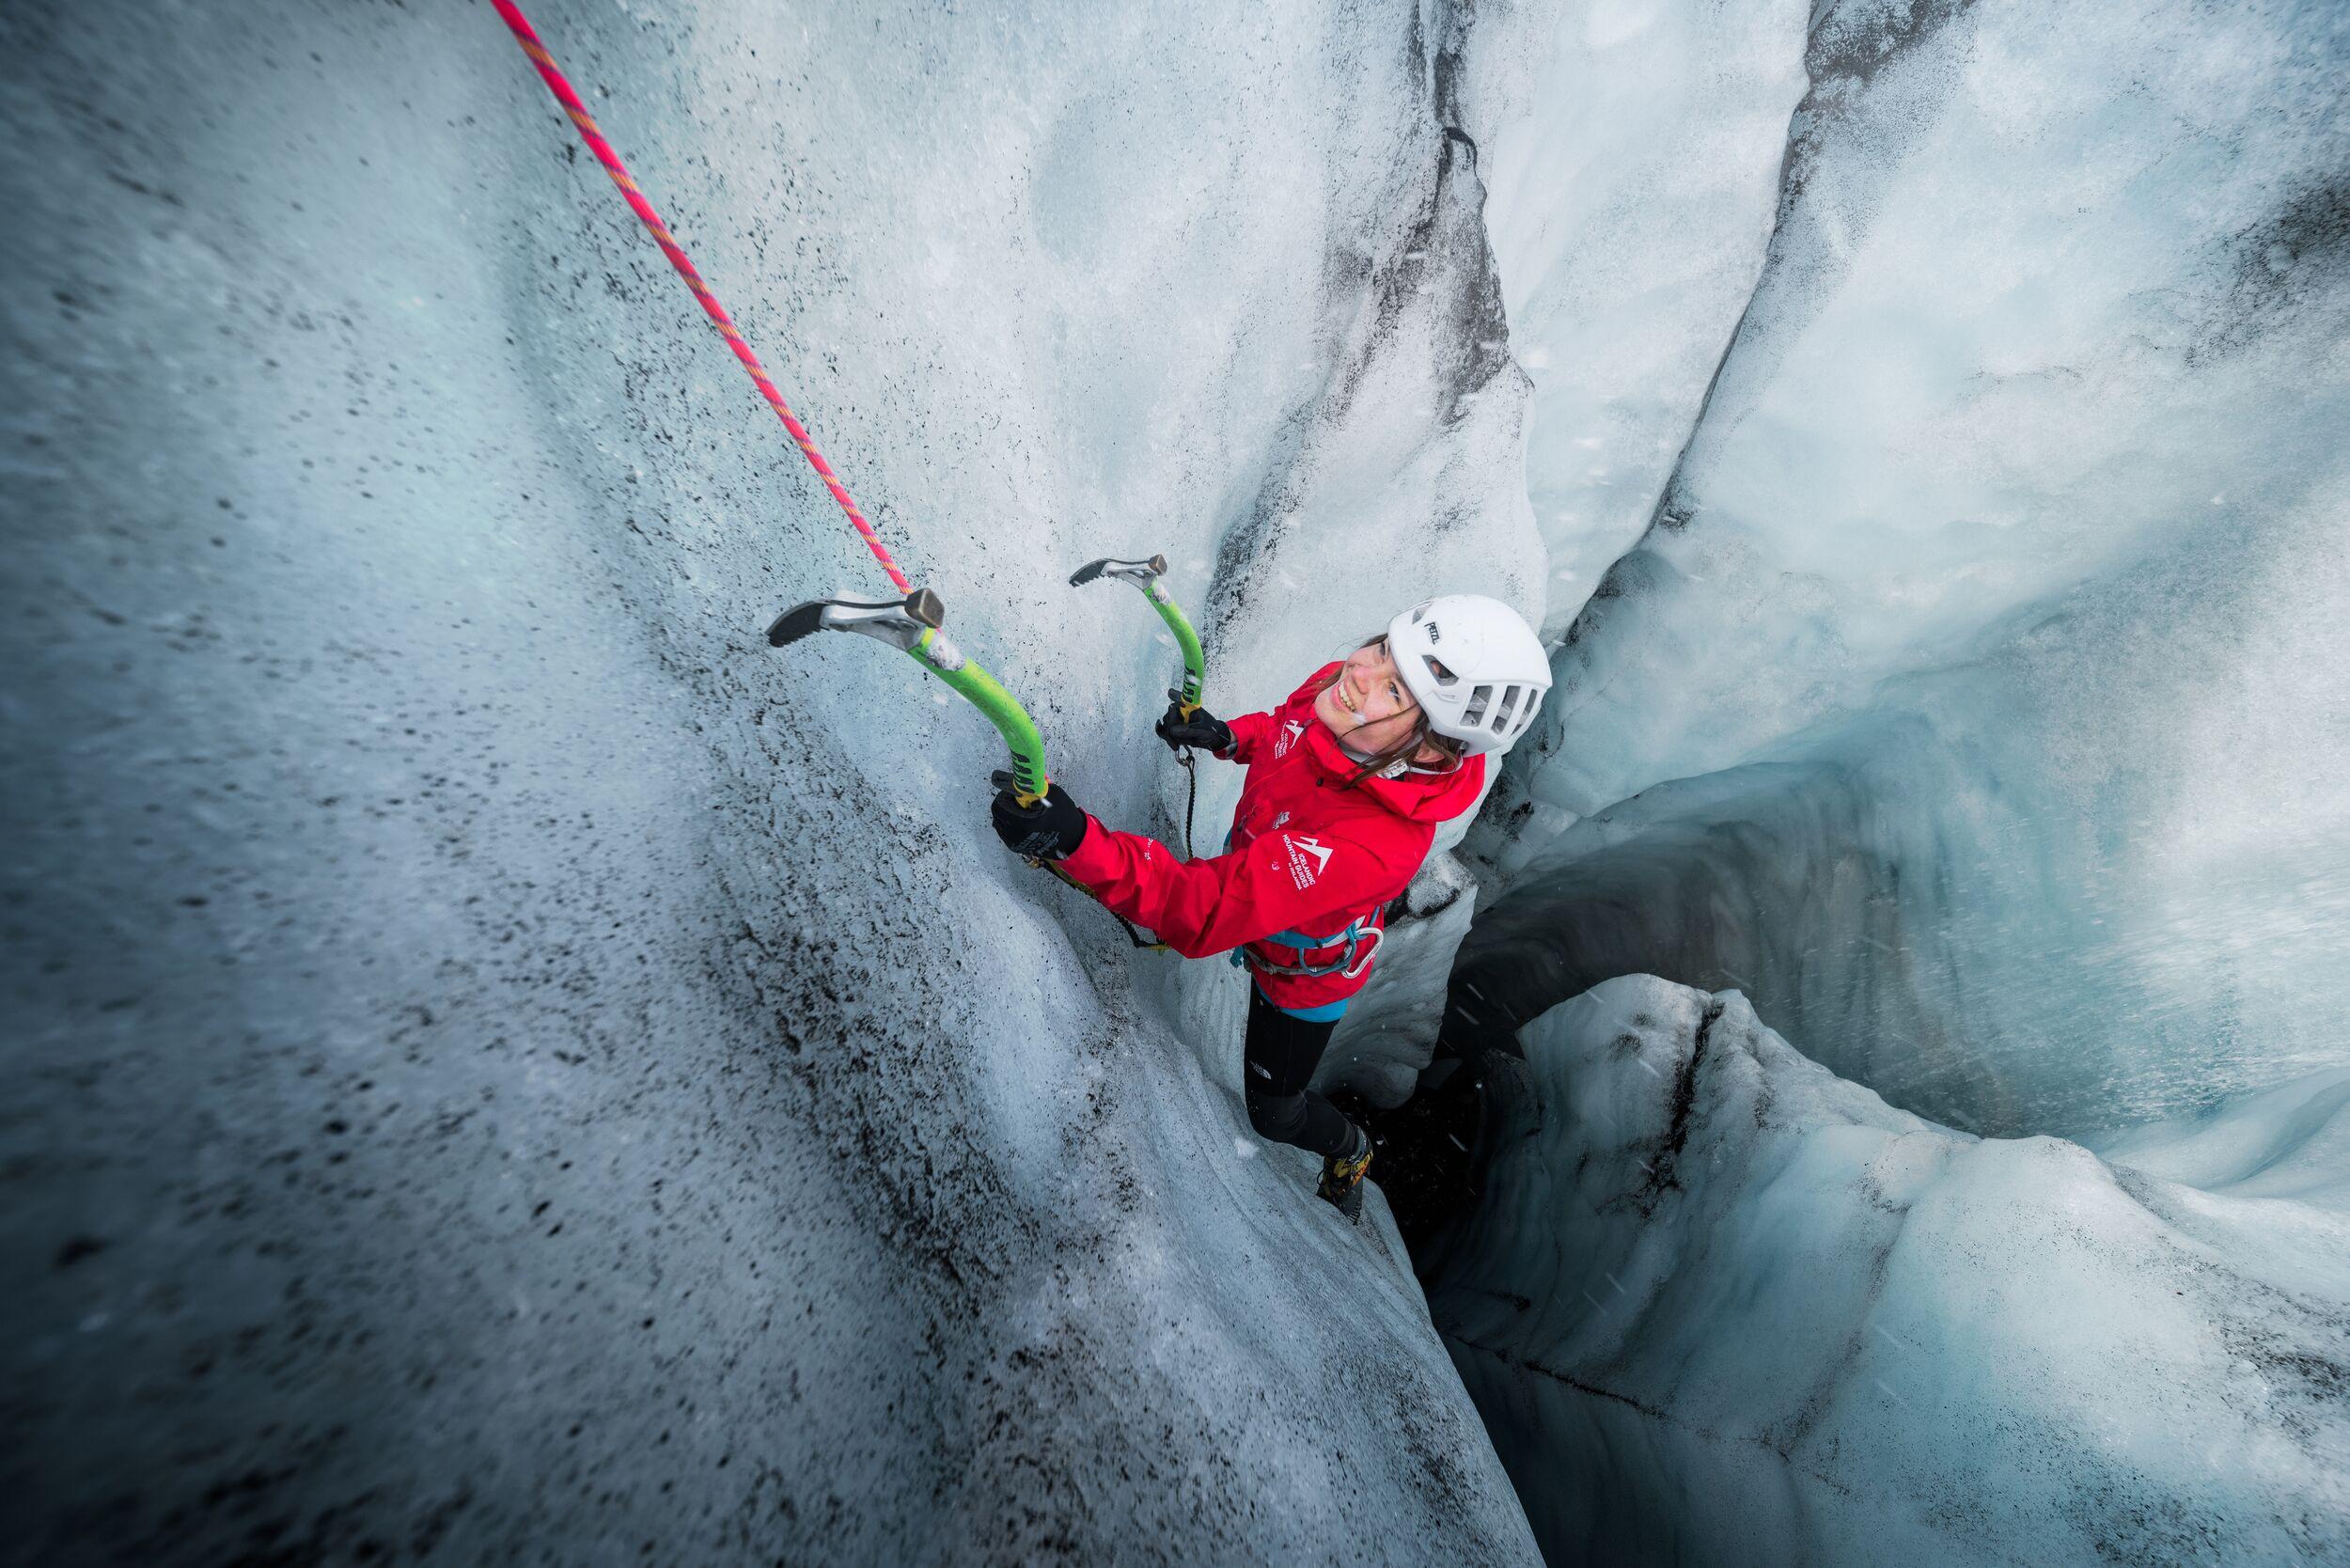
Let’s take a deeper dive into the how to’s of glacier photography in Iceland, starting with one key tip: go with the experts. Icelandic Mountain Guides offer guided glacier walks and ice cave tours that not only ensure safety on the glacier, but also give you access to some of the most photogenic locations in the country.
An Introduction to Iceland’s Glaciers
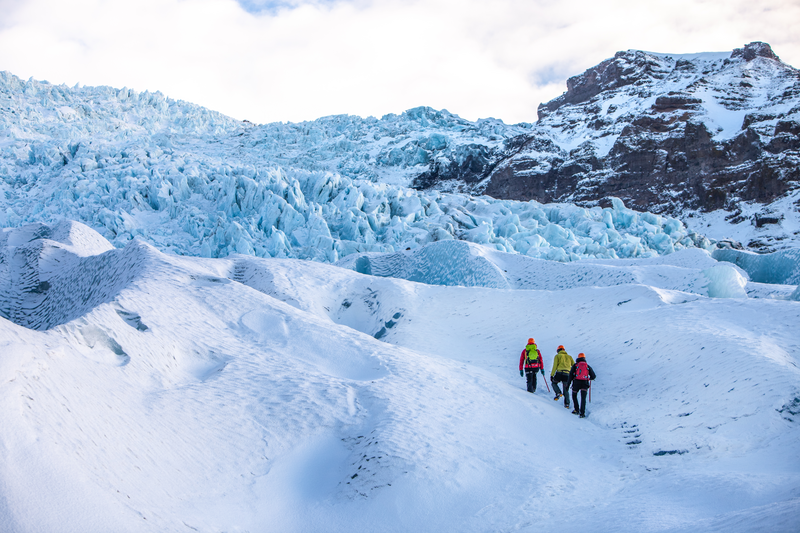
Iceland’s glaciers are among the country’s most striking natural features. There are roughly 13 major glaciers covering roughly 11% of the country’s land area, with Vatnajökull being the largest in Europe by volume and area. Sólheimajökull, a dramatic outlet glacier of Mýrdalsjökull in southern Iceland, features striking crevasses, ash-streaked ice and vivid blue formations. Icelandic Mountain Guides lead guided hikes here, allowing for the safe exploration of ice caves, ridges and moulins, while sharing insights into glacial geology, climate change and the glacier’s constantly shifting, photogenic landscape.
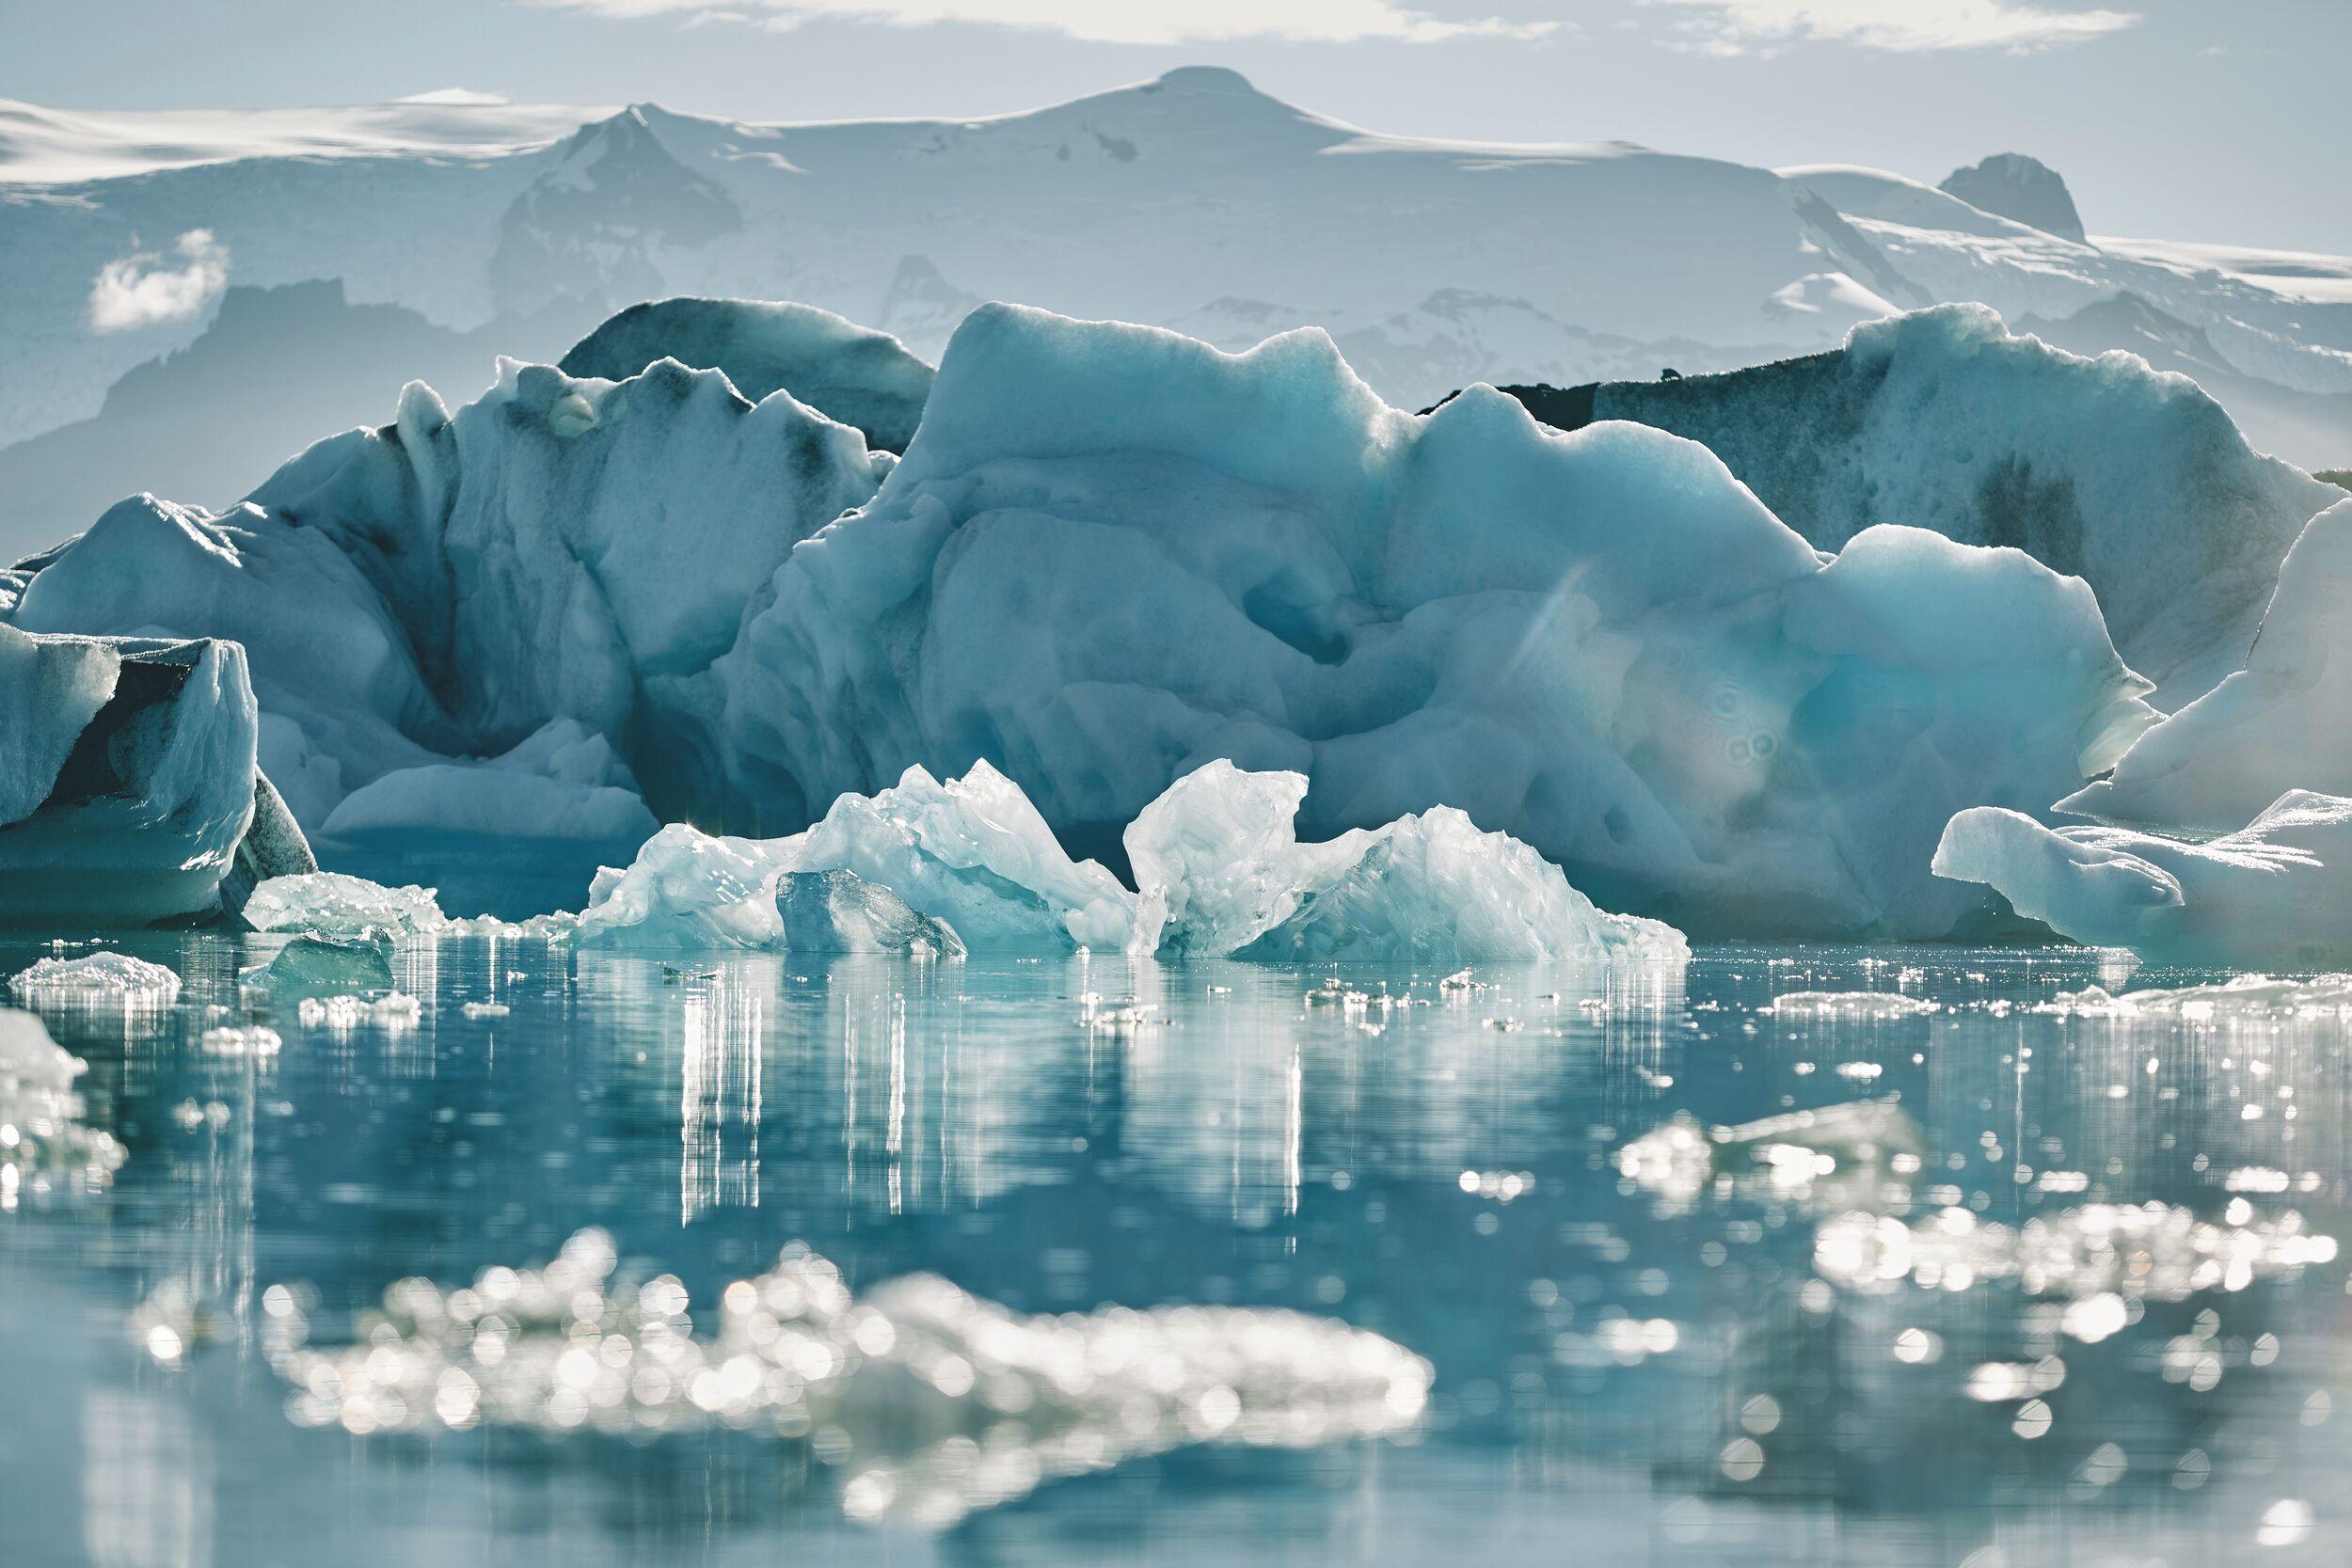
Most of Iceland’s glaciers formed during the last Ice Age, over 10,000 years ago, and have since advanced and retreated in response to climate changes. Iceland’s glaciers are dynamic landscapes of shimmering ice, sculpted by slow movement and sudden events.
Deep, often hidden cracks called crevasses form as the ice flows over uneven terrain, creating hazards, but also revealing the glacier’s layered structure. Like rings on a tree, many Icelandic glaciers are streaked with black layers of volcanic ash, deposited during eruptions that punctuate the island’s geologic history. These ash bands not only record past events but also influence melting rates since dark colours absorb more sunlight.
Photographers are drawn to Iceland’s glaciers for their dramatic contrasts and intricate details. Crevasses offer striking compositions, their jagged shadows and brilliant blues creating natural abstract art. Volcanic ash layers provide stark black-and-white patterns across the ice, telling visual stories of fire and frost.
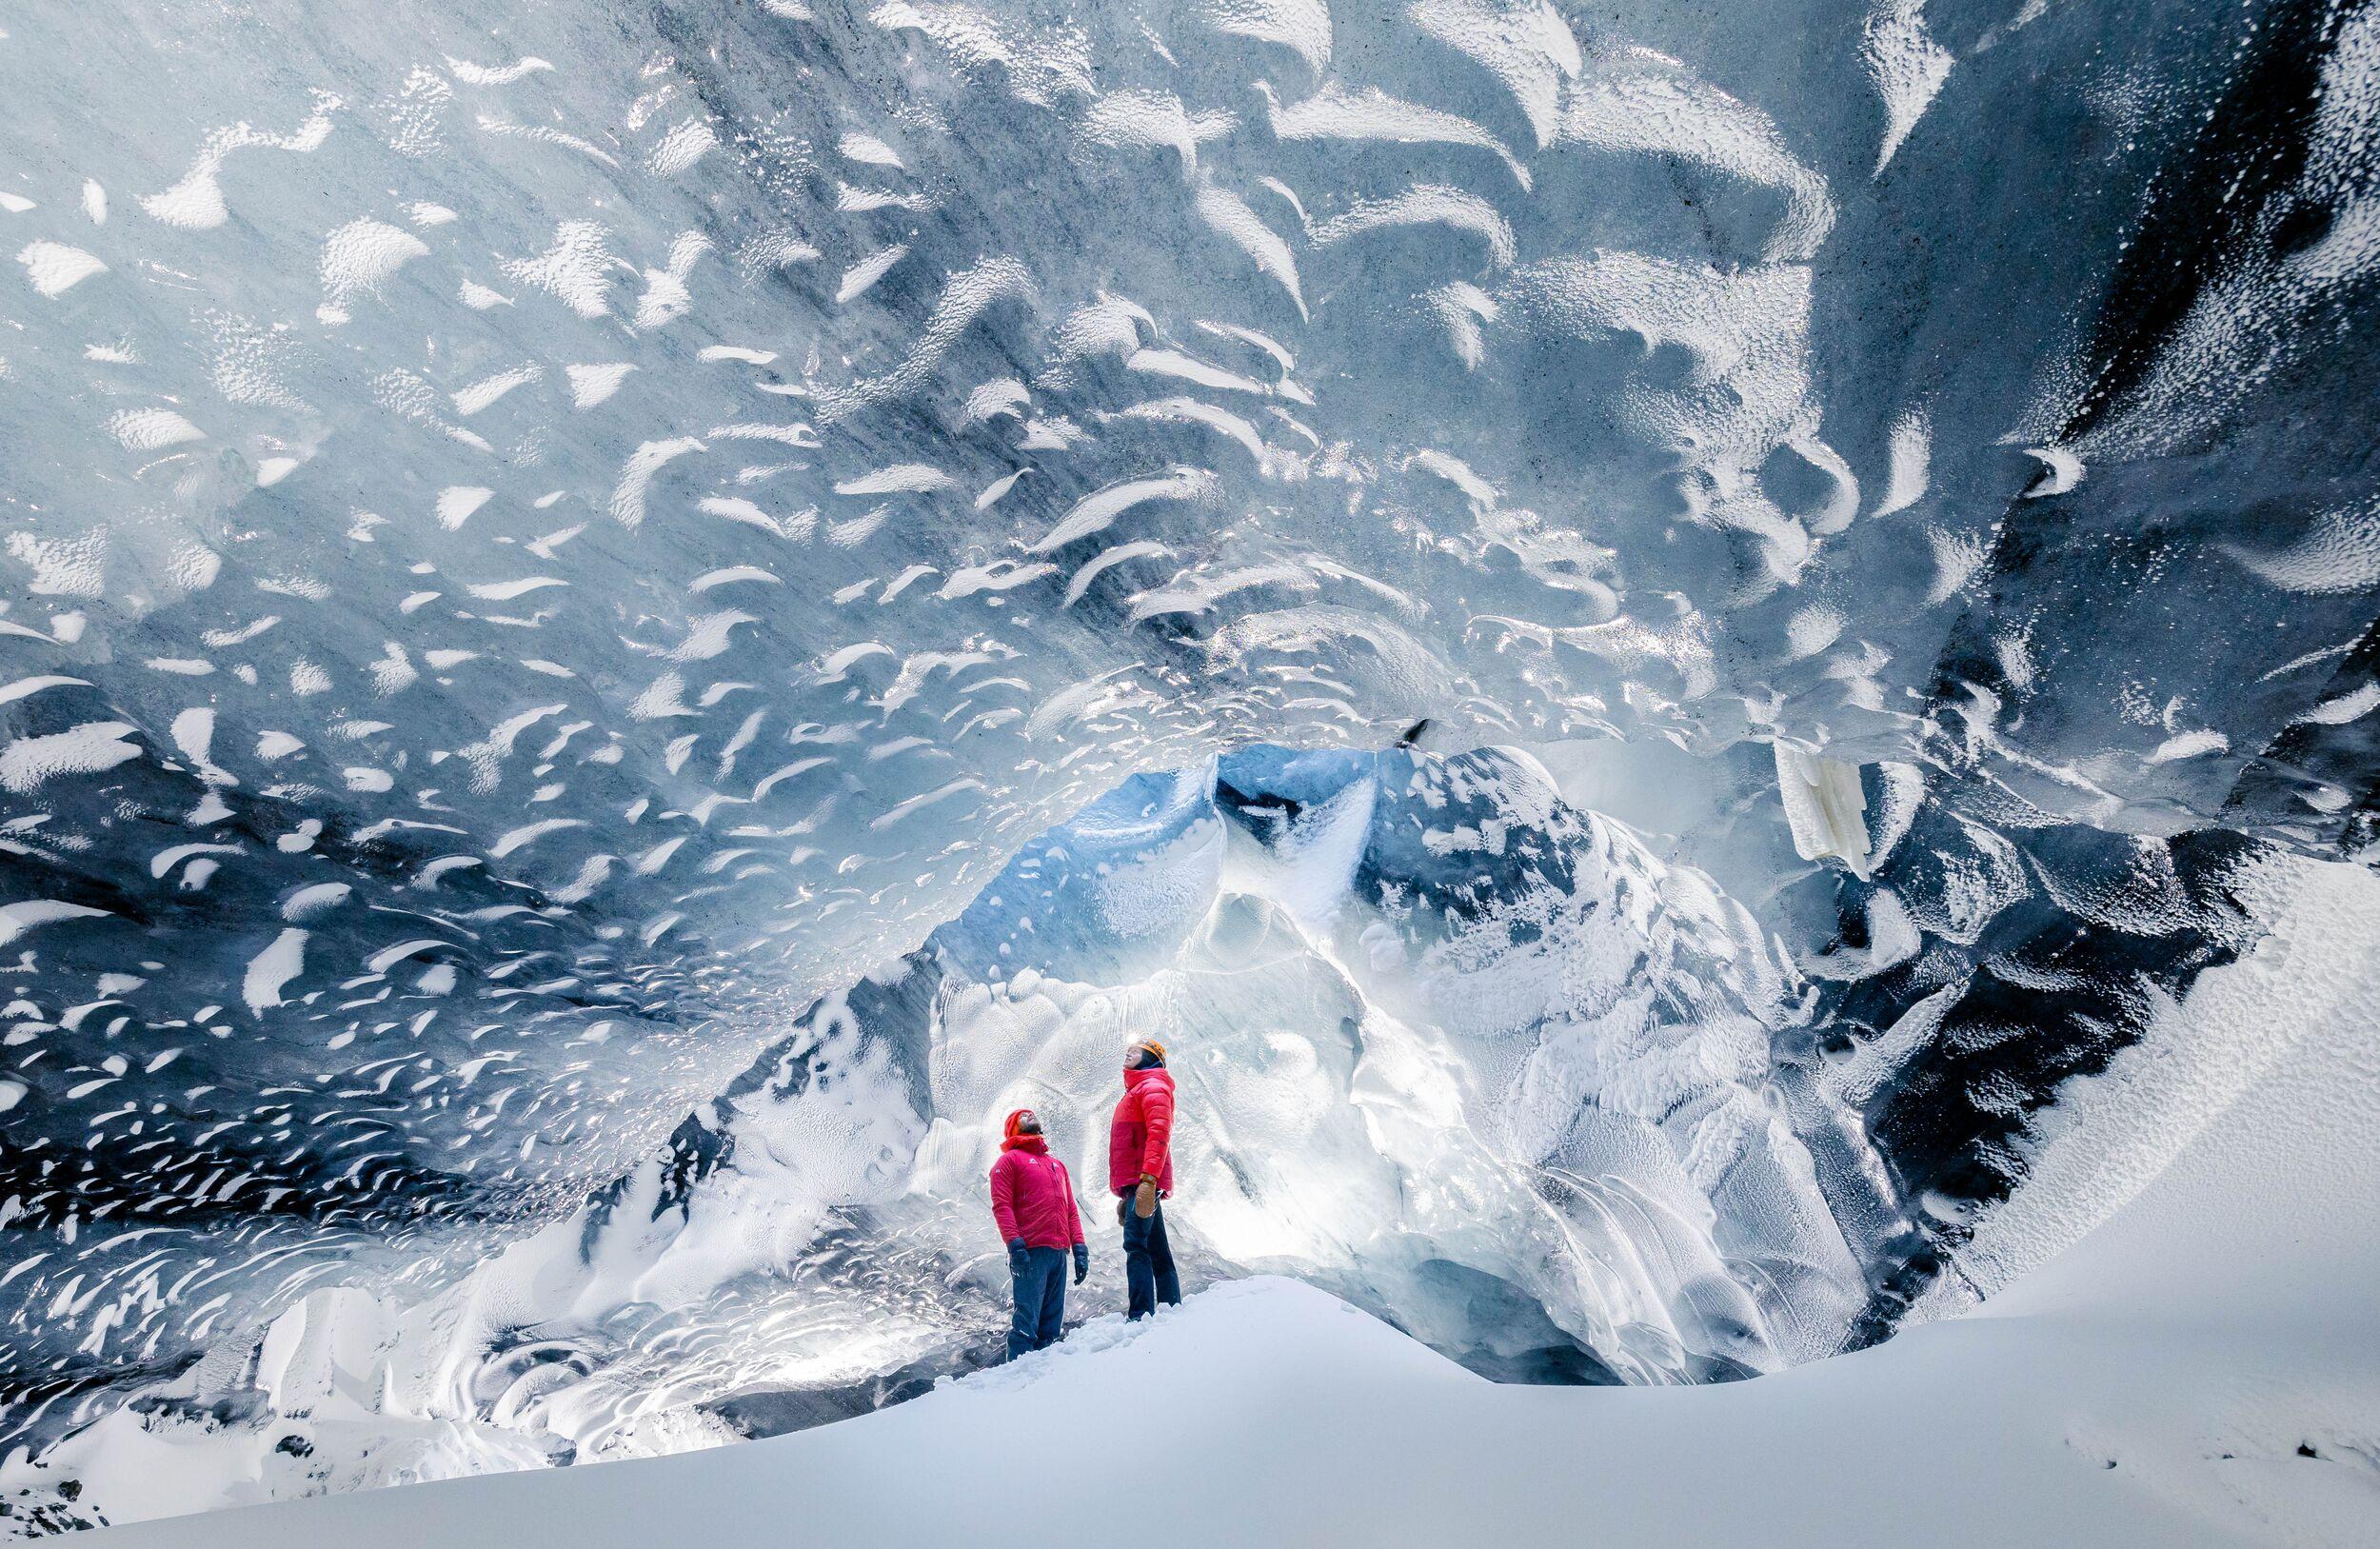
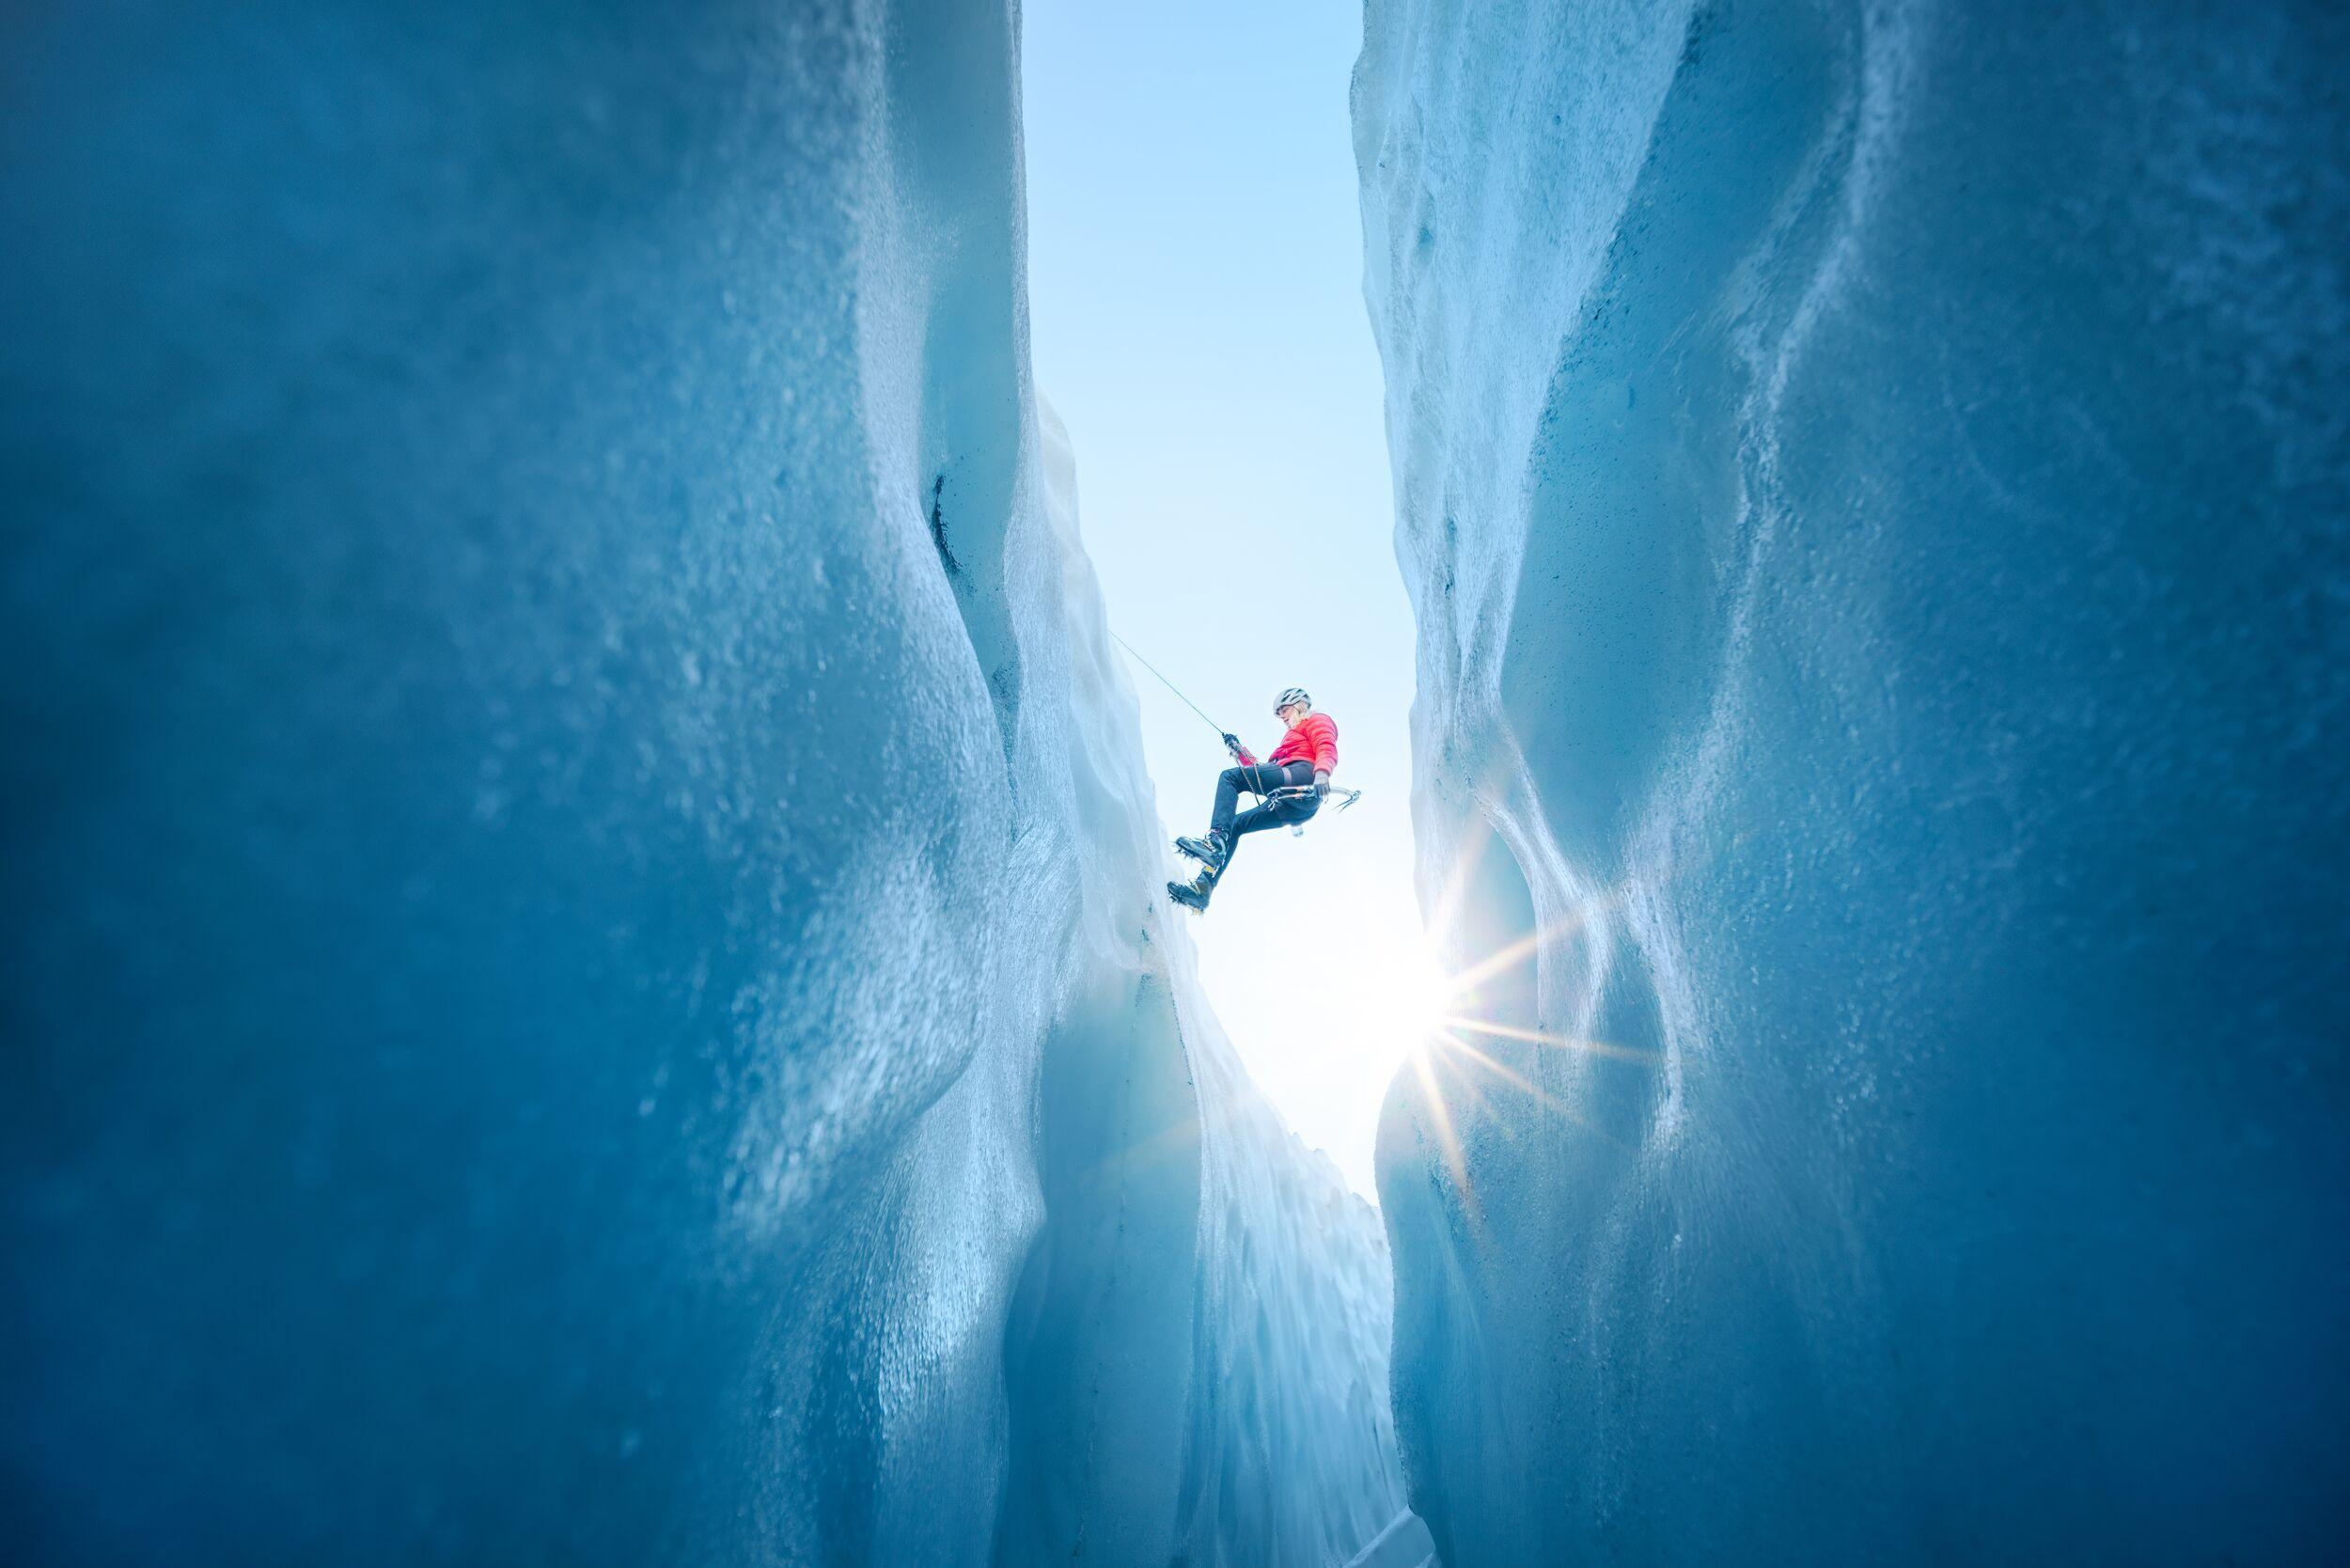
Beneath the glaciers, meltwater carves out spectacular ice caves, their translucent blue walls shifting with the seasons. These caves are more stable and accessible during the winter months, offering a glimpse into a world of nature’s frozen architecture. Seasonal ice caves are perhaps the most captivating for photographers. The arched tunnels of luminous blue ice can glow when sunlight filters through, producing otherworldly tones.
Choosing the Right Gear
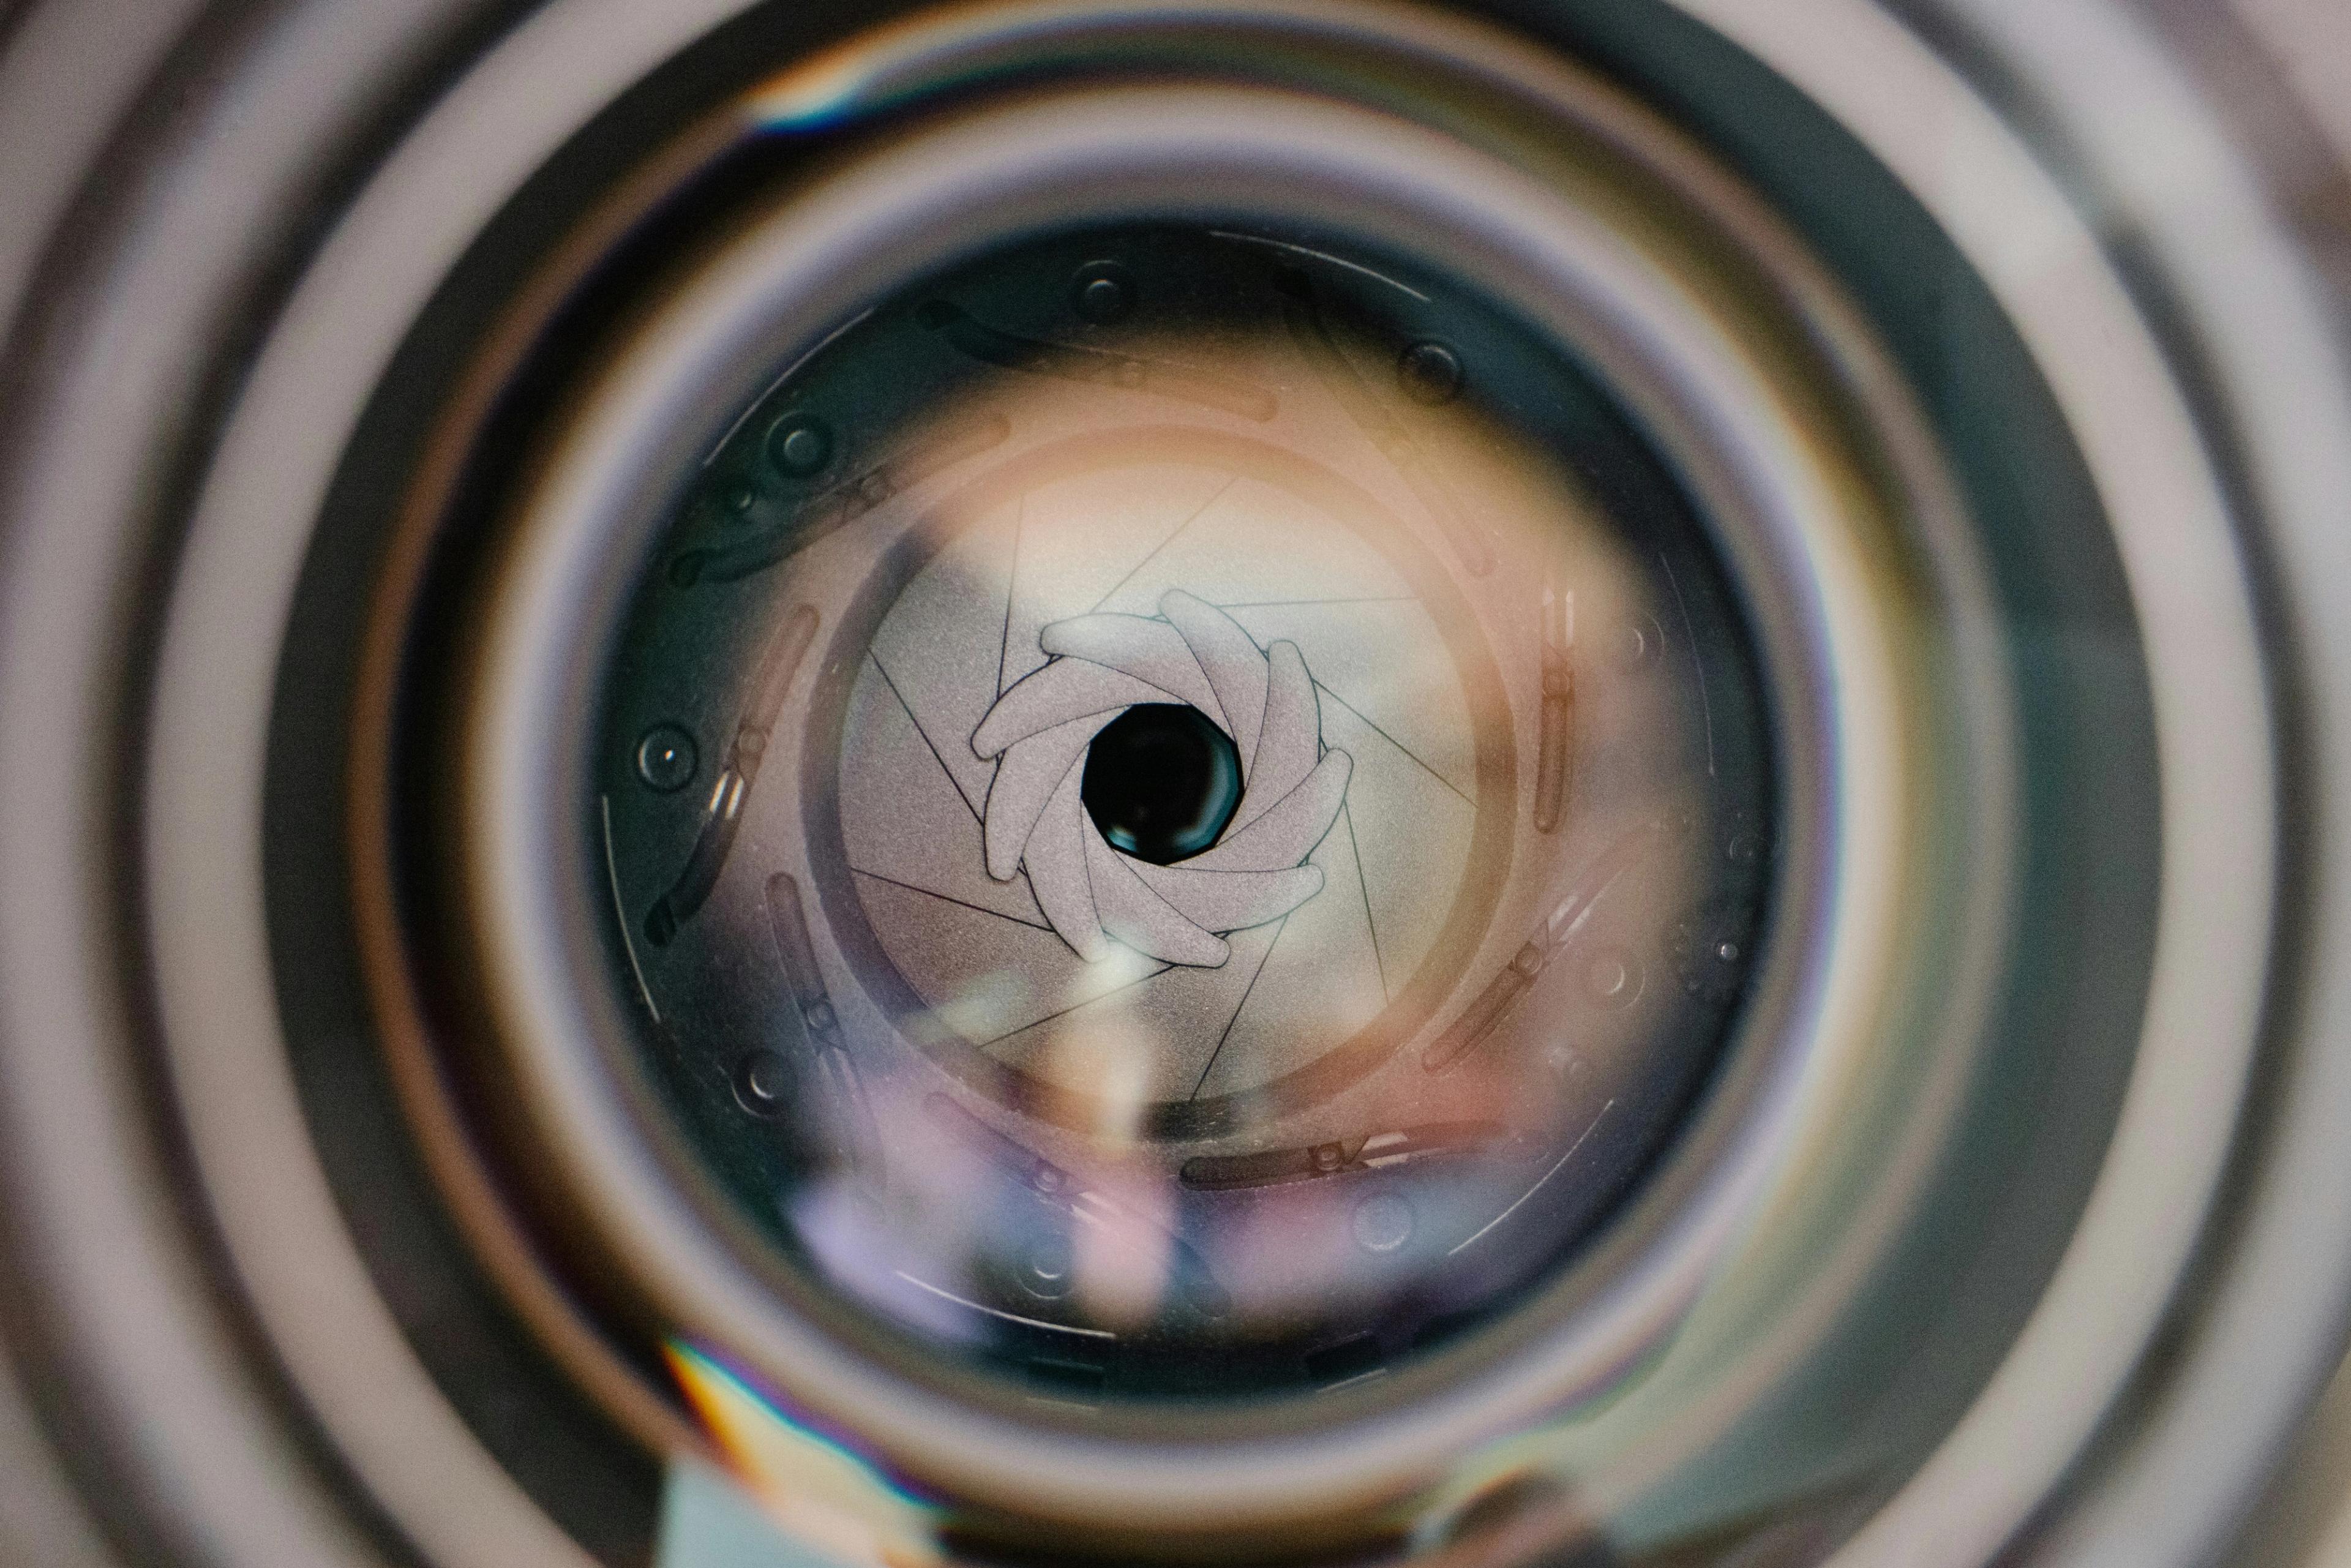
A DSLR camera offers the most control over exposure, focus,and depth of field — crucial for capturing the extreme contrasts of glaciers and ice caves. Its larger sensor handles low light better, preserving detail in deep blues and shadows, while interchangeable lenses allow creative flexibility for wide vistas and intricate ice textures. Whether you’re hiking a glacier or descending into a cave, you will want gear that can perform in cold temperatures and sometimes wet conditions.
Essentials:
Camera: A DSLR or mirrorless body camera with good dynamic range.
Lenses: Wide-angle for landscapes and interiors of ice caves, and a 24–70mm for flexibility.
Tripod: A lightweight but sturdy support for your camera is crucial for capturing crisp images in the low-light conditions of an ice cave. Shooting in the low light conditions of an ice cave isn’t very different than shooting the Northern Lights. You’re going to want to hold still for long exposures.
Filters: Polarisers help reduce glare on ice and enhance contrast in snow.
Extra batteries: Cold temperatures tend to drains power faster. If capturing some epic shots is at the top of your glacier to do list, be sure to pack a spare battery or two so you don’t get caught out in the cold.
Waterproof/dry bags: Just as it’s highly recommended that travellers in Iceland dress in layers, with a water- and wind-proof outer shell, the same advice will serve your gear well.
A remote trigger: This will further cut down on shaking and may just be your best friend in an ice cave — well, after the expert guide bringing you there and keeping you safe.
Finding The Light
The running joke in Iceland is that if you don’t like the weather, just wait five minutes. Lighting on glaciers can similarly change by the minute, shifting from bright sunlight to sudden fog or even near darkness inside an ice cave.
On glaciers:
Aim for early morning or golden hour light to catch dramatic shadows and depth in the ice.
A polarizing filter to cut glare and boost contrast.
Inside ice caves:
Bring a headlamp or portable LED light for creative illumination.
Long exposures are key. You’ll want to stabilize your camera and shoot at ISO 100–400 to minimize noise.
The ice will serve as your natural diffuser, so embrace the ethereal tones.
No Fancy Camera? No Problem
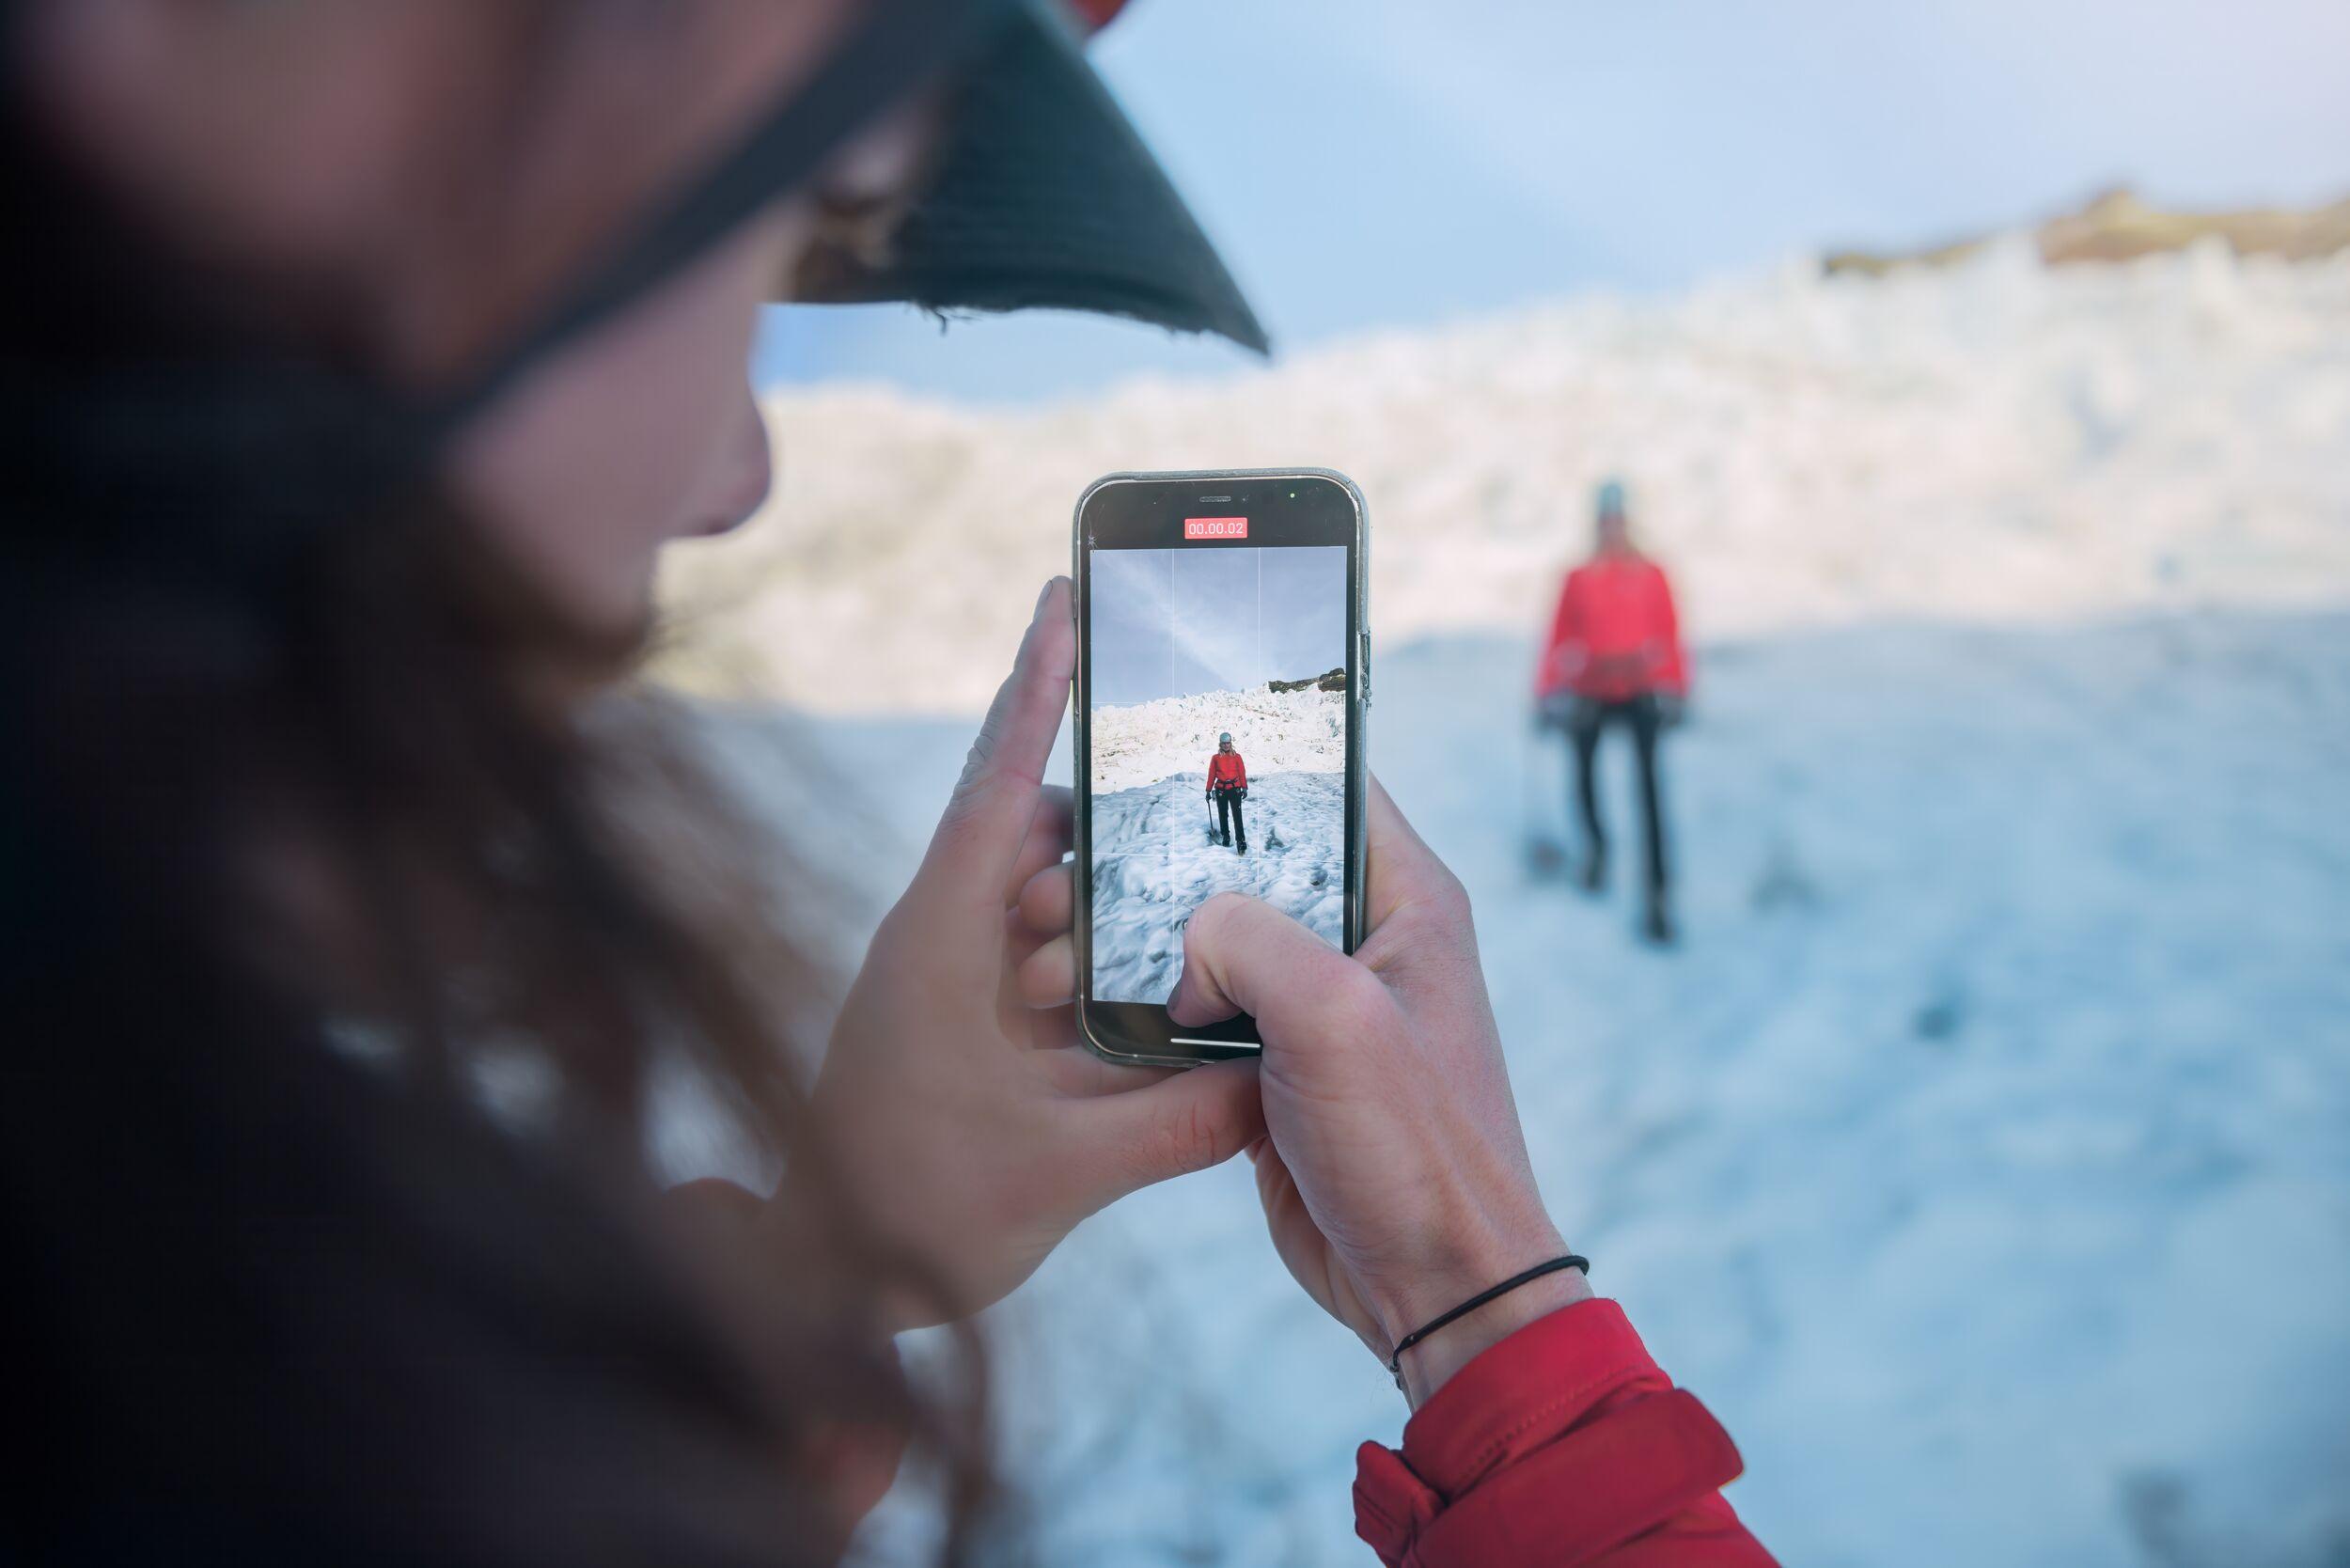
If you want to memorialise the beauty of Iceland’s glaciers, but you don’t have all that professional gear to being along on your glacier or ice cave tour with Icelandic Mountain Guides? Don’t fret. The camera on your smartphone is no slouch.
Photographing glaciers and ice caves with a smartphone is absolutely possible. With a bit of preparation, you can even capture some pretty professional-looking results. It’s wise to familiarise yourself with the photo functions and settings of your phone before clambering atop the glacier — you won’t want to be Googling “how to change photo modes?” instead of basking in the majesty of the moment. You should also keep in mind that the cold and icy conditions on a glacier or inside an ice cave present some unique challenges for smartphone photographers.
You’ll want to keep your phone warm in an inner pocket of your coat to prolong its battery life. When shooting glaciers outdoors, use your phone’s HDR mode to balance bright snow and ice with the darker tones of ash, rock or sky. Slightly underexposing can help preserve detail in bright ice.
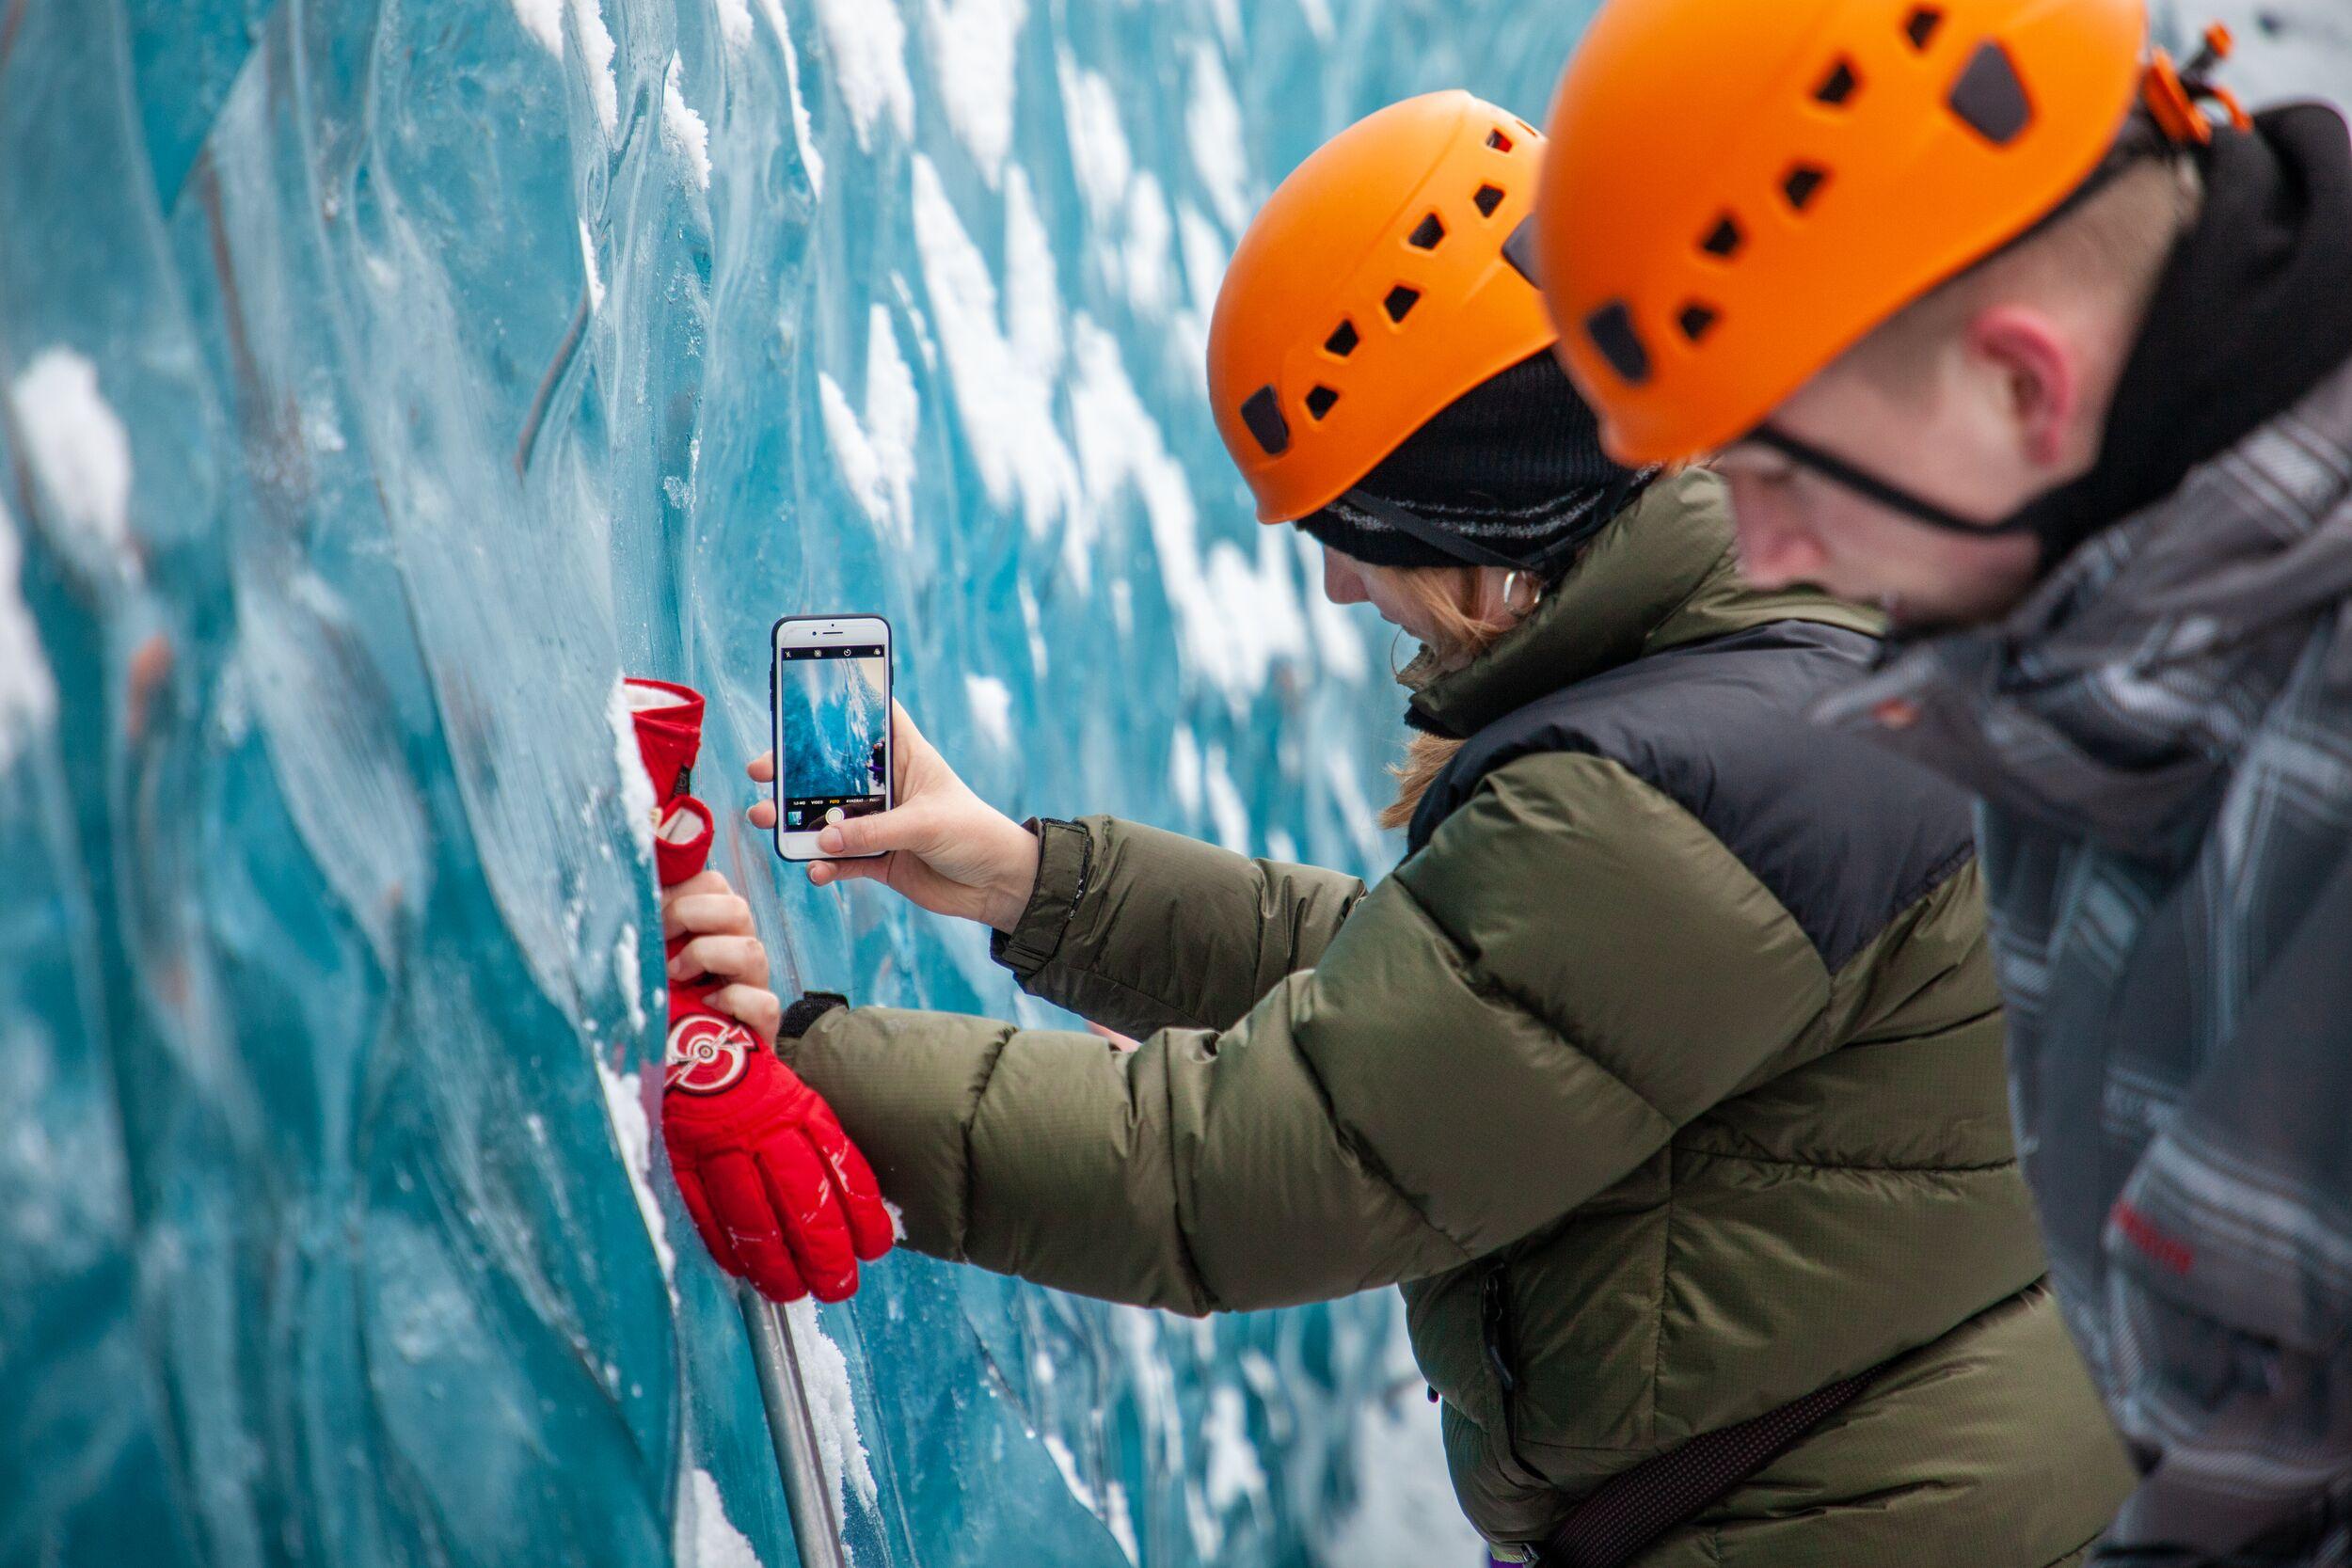
Inside ice caves, light levels can be low, making it harder to capture a crisp image. If you don’t have a tripod, brace your phone or your arm against a stable surface while snapping to avoid blur. Switching to night mode will help.
Just as if you were shooting with a DSLR, you should seek out dramatic textures when taking smartphone photos of glaciers and ice caves. Shots that frame crevasses, ash streaks and the deep blues of ice cave walls will be a lot more dynamic than a snap of a single expanse of white.
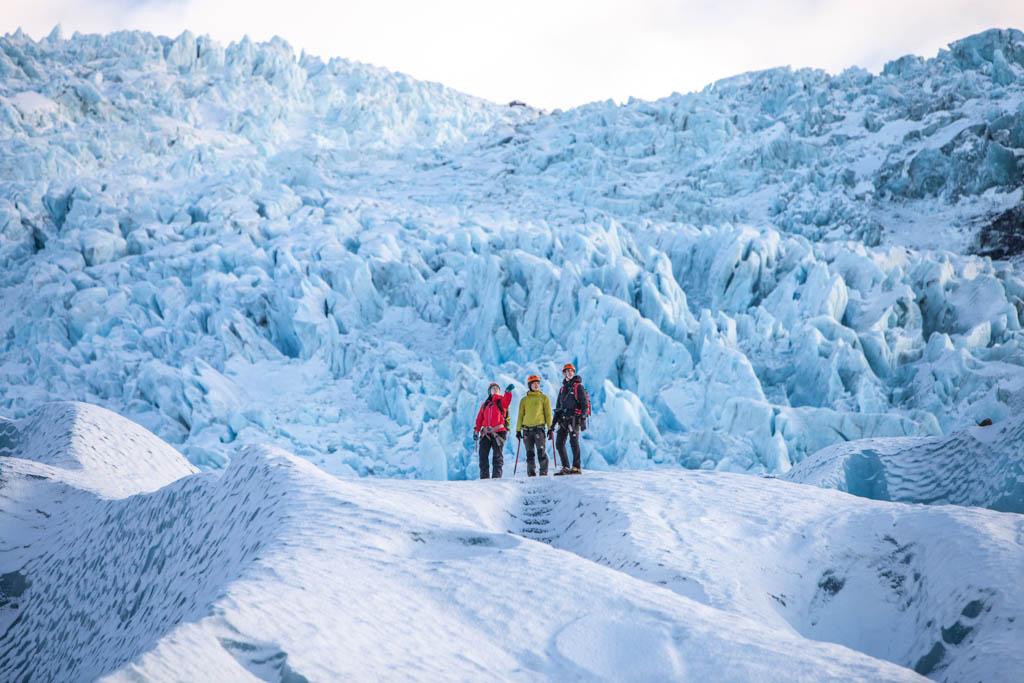
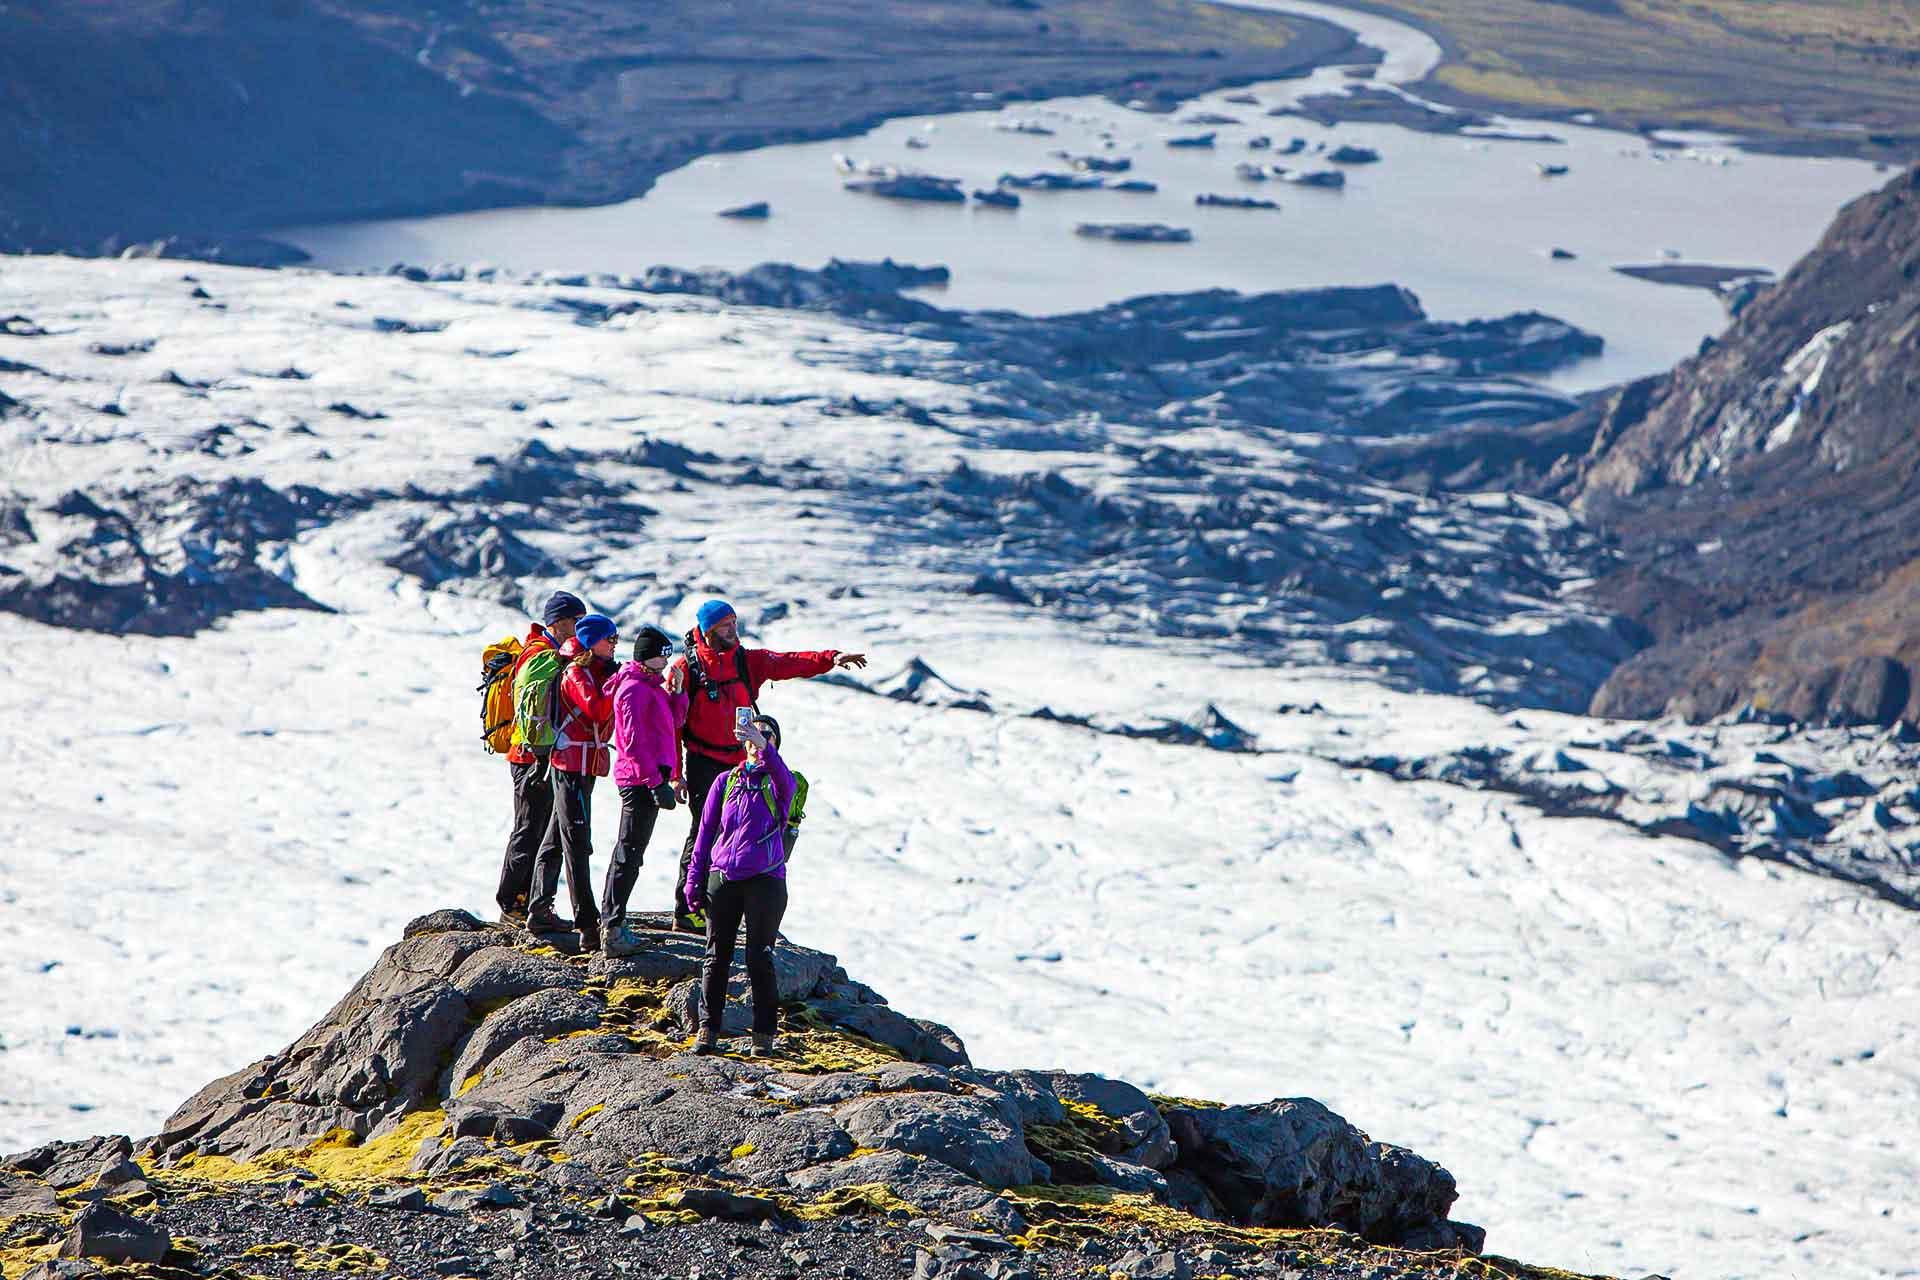
Composition matters—include people or gear for scale, and experiment with leading lines created by cracks or meltwater streams. Move slowly and watch for condensation on your lens when transitioning from cold to warm air.
Finally, always follow safety guidelines. Ice caves and glaciers are constantly changing, so photograph them respectfully, and preferably under the guidance of experienced tour leaders.
What About Your Gear?
So you’ve got your camera bag packed or your smartphone fully charged — what else could you possibly need? Choosing the right clothing and footwear will keep your comfortable throughout your glacier adventure.
Here is what we would recommend wearing when visiting Iceland's glaciers:
Base layer: Start with a base layer of clothing made from wool, silk or polyester. The base layer is meant to wick moisture away from your skin and provide light, quick-drying insulation. Don’t wear a cotton base layer — it will absorb your sweat and make you colder.
Mid layer: Add a layer to provide insulation and retain your body heat, while remaining breathable. The best materials for this layer are wool, fleece or goose down.
Outer shell: Top it off with an outer layer that will protect the other layers — and you — from the rain, wind and snow. This layer should be lightweight and quick-drying, like Gore-Tex or eVent.
Footwear: Choose appropriate footwear for your hike and the weather conditions, including wool or synthetic socks, and sturdy hiking boots or hiking shoes.
When to Go
Winter (August–April): This is prime time for ice cave photography. Expect short days and low light — great for dramatic photos.
Summer (June–August): Summer months are ideal for glacier hikes and panoramic landscapes under the Midnight Sun. But these icy giants are accessible with Icelandic Mountain Guides year-round, with different light conditions creating varied shadows and textures for photographers.
Remember: ice caves are seasonal and some are only accessible during winter with proper safety precautions. That’s another reason to book with Icelandic Mountain Guides — we know which caves are open and stable.
Happy Snapping!
Photographing Iceland’s glaciers isn’t just about getting the shot — it’s about experiencing one of the planet’s most raw, majestic environments up close. With the right preparation, creative mindset and the support of expert glacier guides, you’ll come away with an album’s worth of stunning photographs and a whole lot of stories to tell.
Keep me informed about the Icelandic Mountain Guides Blog
Outdoor adventure in Iceland is our specialty. Subscribe to our free monthly newsletter to learn when to go, what to do and where to have the best adventures in Iceland.
Related Blog Posts
Related Tours

Glacier Exploration - 4-hour Sólheimajökull Glacier Hike
Skaftafell Blue Ice Cave Tour & Glacier Hike
Skaftafell Glacier Hike and Ice Climbing